Thursday, 27 September 2012

Spooky Playdough and Halloween Blog Hop

This week I had the idea of making Spooky Play dough. The idea was that it would work for incorporating our current theme of space.


I used our non cook play dough recipe to make a batch in black and another in green. I put out googly eyes and lollipop sticks ready for them to make their own aliens and monsters. Lady P also wanted to get out the plastic pieces which are used for making plastic creatures.


The children made a great collection of Aliens and monsters.


Lady P made a great space scene with a rocket and planet. 

If your looking for more ideas check out the linky below, you can also share your ideas to help others have great fun this Halloween. This list below shows a great group of bloggers taking part in the Blog hop this year. Make sure you pop by and grab some great ideas from the group. 

   Halloween Blog Hop

Rainy Day Mum, Here Come the Girls, Domestic Goddesque, Emmys Mummy, Playfullearners, Jennifer's Little World) http://www.jenniferslittleworld.com, Fabmums, Red Ted Art, Mummy Mummy Mum!, Mummy Mummy Mum!, Me and My Shadow, Taming the Goblin, Creative Playhouse

Wednesday, 26 September 2012

Baby and More- Mum 2 Mum Wonder Bibs

With only 15 weeks now to go we have been lucky enough to be sent goodies for some lovely companies. When a package arrived the other day of Wonder bib's I could not have been more frilled. Working full time and looking after the kiddie winks I have not had a chance to do much chopping my self. In fact apart from a  few impulse baby clothing buys the nursery is empty. 

The bandanna style bibs came out just after little man had no need for them any more. I love the design of them and I'm a sucker for anything stylish. I was most excited to find a bandanna bib in this parcel along with the rest of their fantastic range.


Baby and More explain on their site that the collection features include:
Holds 1/4 cup of liquid
Protects against eczema
Generous cover
Adjustable neckline
Keeps neck clean and dry

I found that not only was this true but the bibs sure sooo soft and didn't stain! Of course I have kept most of the bibs unused but tried out one of each style on the children I look after and found they were more comfortable than the ones I have found in the past and wash up brilliantly. 

Baby and More is a great website offering a range of essential baby products from Towels, to dummies, to changing bags. There delivery was quick and the service we received was great! I would recommend this site for any new parents. 


Tuesday, 25 September 2012

Little Birdie Told Me- 3 in 1 cushion

When I had little man I was sure I was going to breastfeed all the way through for the first six months. In the end I really struggled. He never seemed to feed properly and it turned out LM was tongue tied which probably did not help any. Turning to bottle feeding left me feeling like a complete failure. It was all I could think about at the time but unfortunately by the time we had worked out he was tongue tied it was too late to give it a second try. 

This time round I have set my self realistic goals of how long I would like to breastfeed for. I will unfortunately be planning to return to work quite quickly but feel that every day/ week I can continue will do the little one more good then bottle feeding. 

Little Bird Told Me recently sent me a beautiful 3 in 1 pillow. Doesn't it look lovely. Its a beautiful bright colour with a warm fluffy underneath. I'm very excited about putting this cushion to the test. I love the thought that it has some  great uses for even after I stopped breast feeding. 

The cushion also comes with two detachable toys which you could attach to the buggy or move in front of the cushion during belly time. 

The  3 in 1 cushion is just £36 and I can picture it being worth every penny in a childminders and parents  house like mine . 

Little Bird Told Me consists of a team of nursery specialists who are dedicated to making the world of little people and grown-ups that little bit more special. The product ranges offer an exceptional choice of developmental activity toys, innovative infant rocking animals & horses and nursery accessories, all of which are presented in beautiful eco-friendly gift style packaging.

Monday, 24 September 2012

Autumn Bucket List

Over the summer we created a bucket list of activities we would like to get done. The list was then printed and kept on the fridge as a reminder for me and a good way for the children to pick activities when they were bored. Because the idea worked so well I have decided to do them for each season or festival which is important in our house. So here we go, I hope you find these idea useful too. 


  1. Leaf art- designing patterns on the leafs
  2. Leaf sun catchers
  3. Add to the Autumn discovery bottles collection
  4. Carve a family of pumpkins
  5. Decorate the porch for Halloween
  6. Make an Autumn tree display indoors
  7. Make Autumn mobiles
  8. Use coffee filter paper and water colours to make a leaf display
  9. Rolling conker art
  10. Put garden to sleep
  11. Make homes for the mini beast in the garden
  12. Plant sweet peas ready for next year 
  13. Bake pumpkin pie
  14. Create a Autumn discovery basket
  15. Take dried food products to the old peoples home
  16. Make animal collages out of leaves
  17. Make our own jar lanterns
  18. Make acorn people
  19. Create a Autumn fairy home
  20. Play in the fallen leaves
  21. Make toffee apples
  22. Make bonfire candy
  23. Use twigs and branches for construction
  24. Make slime
  25. Apple bobbing
  26. Make a guy  for the bonfire
  27. Buy and use a salad spinner for fire work pictures!!
  28. Bake pumpkin seeds for snacks at school
  29. Dry pumpkin seeds for next year in the garden
  30. Read Autumn books with marshmallows and hot chocolate.


Sunday, 23 September 2012

Friday, 21 September 2012

Epic Straws with Cravendale

When we were asked to join in the Cravendale's Epic Straw challenge I simply couldn't refuse. I mean what could be more fun than making your own straw creation with a great supply of twisty and twirly straws? Exactly!!

So I spent a couple of days thinking how I could set the Lady P a challenge with the straws and came up with a few questions for her. As you many have noticed by now I don't add pictures of the children on the blog so I will be acting as Lady P's model and she will be making her straw master pieces and acting as photographer.

Q. If you double in size how would drink your milk whilst keeping it on the table?


A. Lady P used a mixture of long and short straws with straight and bent connectors to join them. 


Q. Little man has blown off but you still want to drink your milk while keeping it on the table ( like mummy ask's). What do you do?


A. P used a similar idea to the one above but needed to add an extra bend so it still reached the cup. 


Q. You want to hide under the table from dad but don't want your milk to go warm, what do you do?


A. Lady P used lots of bends for this one and needed to be careful they didn't fall apart again.


Q. Your final mission create your most exciting straw invention in 3 minutes....


A. In each pack of straws you will receive instructions for a good idea on how to  create a design. P decided to try one of these designs. She found it easy to make by her self once I had explained what step to do when. 


To find out more about Epic Straw visit the Cravendale website  here

Thursday, 20 September 2012

Autumn Discovery Bottles and Blog Hop


Discovery bottles and treasure baskets have been a huge hit in this house since Little Man  was a baby and even now that his three he shows an interest in exploring natural materials through discovery bottles and investigation boxes. This Autumn I have a few plans up my sleeves and one of which is to make a huge collection of discovery bottles. We have already made a start and there's a photo below of what we have so far but stay tuned for more pictures when Autumn get into full swing here. Meanwhile below I have listed for other materials you may wish to try.


For more ideas on what to do this Autumn check out the blog hop below.

Autumn blog hop

The blog hop is being hosted by a great group of  bloggers and there ideas for this themed blog hop are amazing. Each of their sites are listed below so make sure you pop by and check them out. 

  1. Blogging With Kids
  1. hands on : as we grow
  1. Rainy Day Mum
  1. Love, Play, Learn
  1. AngeliqueFelix.com
  1. 3 Dinosaurs
  1. Sugar Snips
  1. Kitchen Counter Chronicles
  1. Inspiration Laboratories
  1. Playful Learners
  1. Confessions of a Montessori Mom
  1. Two Big Two Little
  1. Go Kid Yourself
  1. Red Ted Art
  1. Life At The Zoo

Tuesday, 18 September 2012

10 Hungry Caterpillar Activity Ideas


Last week my lovely husband was busily taking down a huge collection of weeds at the bottom of the garden and discover two giant caterpillars. Now by big I really do mean big. You could see their mouths moving as they chewed their food. The picture below shows just how big they were. 


We kept the caterpillars in a special net for a couple of days with plenty of leafs for a couple of days so that the children could observe them. We focused our week on activities around 'The Very Hungry Caterpillar' and the children made some beautiful pictures for the walls. 

We used potatoes to print our own caterpillars.

 And we made our own caterpillars using different colours.


Monday, 17 September 2012

Pumpkin Bling!


Each year we try to think of something different we can do with our pumpkins. Last year each of the children drew a pumpkin design onto paper. We used features from each one and but them all together on the pumpkin. The children helped to scoop out the inside and I then cut out the great design we come up with. 


Next came the decorating. the children were given a mixture of tools to paint the pumpkin with this included brushes in different sizes, cotton buds and rollers. They were then let loose with the glitter and in total I think we went through four pots and I was still finding glitter in the carpet a week later. 


We decorated the lid with a mixture of collaging materials such as silk flowers and wool. The children actually asked to do this as they wanted to make it into a hat. 


We were all very happy with the end result and loved the glitter sparkling even with the lights off. 

We would love to read about your lovely pumpkin ideas, so I have add a linky to this post to help you share them. If your after more ideas for this Halloween please check out our Pinterest board where I have gathered some great ideas or we have these ideas on the blog. 


Friday, 14 September 2012

Make your own First Aid Kit


When I started Childminding I decided that I would make up my own first aid kit instead of paying over the odds for a ready made kit. Once I had put it together I couldn't believe that I had gone all this time with out making sure I was equipt. I of course had plasters, paracetamol and a few other bits but to be honest it was shocking how unprepared I was as a parent of two youngster. Now I have even put together a first aid kit for outings and feel much more prepared in case I need to do any first aid. 

So I thought I would share my First Aid list with you all in case it could come in handy for any one else. I use this list for Childminder so it does have a tick chart included. 


Childminding First Aid Check List

Wednesday, 12 September 2012

How to make a Hedgehog sculpture


Meet Pumpkin the hedgehog. Isn't he sweet?! Pumpkin was a craft that G made with her daddy last Autumn.  The school had set the children a challenge to make an animal sculpture for a competition they would be holding. 

This was a good opportunity for us to use up some of our craft supplies which have been taking up space in the cupboard under the stairs. After allowing G to go digging through our supplies she picked out a huge selection of craft materials. I suggested we tried the air drying clay as we had not used it before and G nearly jumped to the ceiling with excitement when she thought of making a hedgehog. So we discussed what else we would need and got to work. 

Resources:
Air drying clay,
Dried pumpkin seeds,
Googley eyes,
A handful of dried leaves, 
Lid to a shoe box.

Step 1. Soften up the clay by moulding it in your hands. Once its warmed up you can roll it into a ball shape. 
Step 2.  Lightly press the clay down on a hard surface to give your hedgehog a flat bottom and stop him rolling.
Step 3. Using a wide pinching action, form the hedge hogs nose.
Step 4. Place on the hedgehogs eyes. Ours were designed to be used on material and had screw in backs which made it easier for the eyes to stay in place. you could however use a dab of strong glue. 
Step 5. Push the pumpkin seeds into the clay until it is filled. 
Step 6. Allow the hedgehog to air dry for a few days. 
Step 7. Turn over the shoe box lid and glue on the dried leaves. 
Step 8. Add your little spikey friend and your all done.


Tuesday, 11 September 2012

Roald Dahl Day Activity Ideas


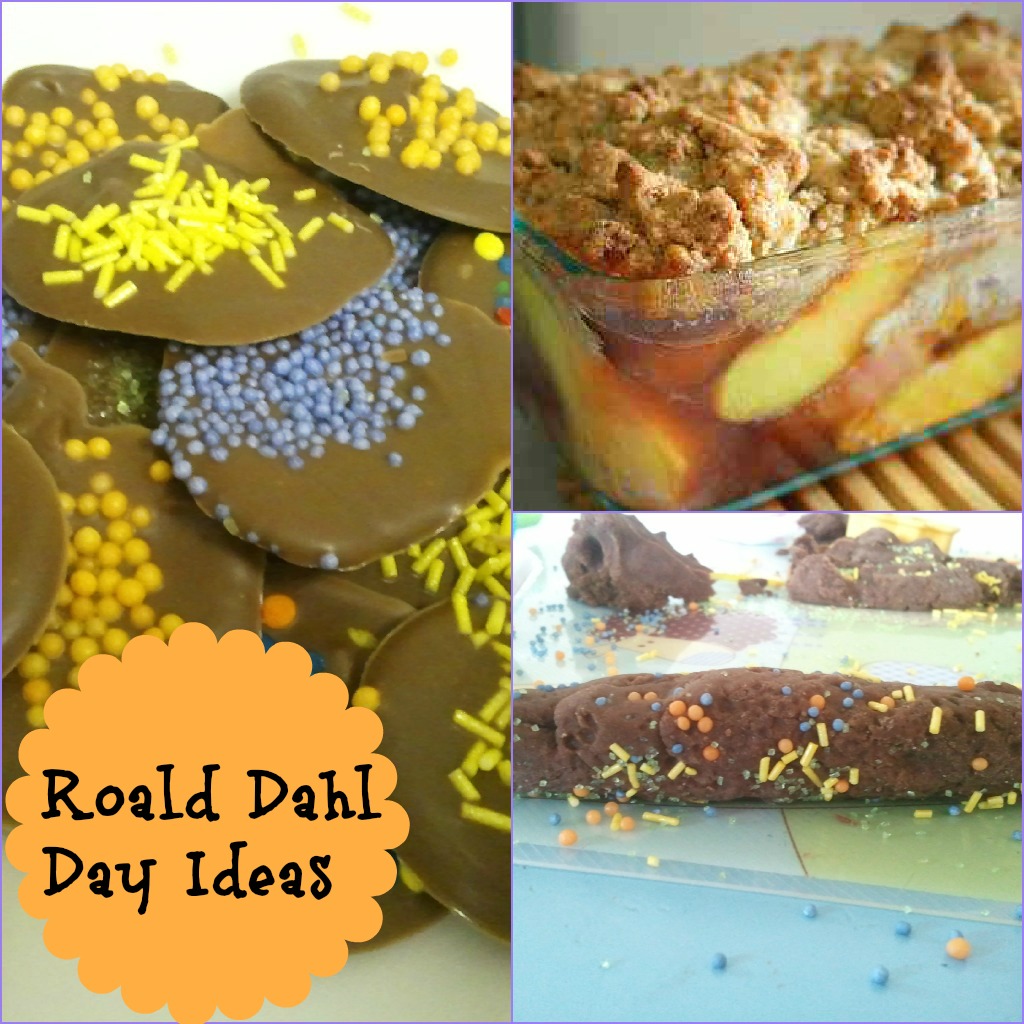
Celebrating Roald Dahl day is always something I look forward to after the school holidays. Here are some of our ideas from last year, why not give them a try?! If you'd like more information about Roald Dahl day (13th September) and the celebrations going on for the BFG's 50th birthday, check out the website here.


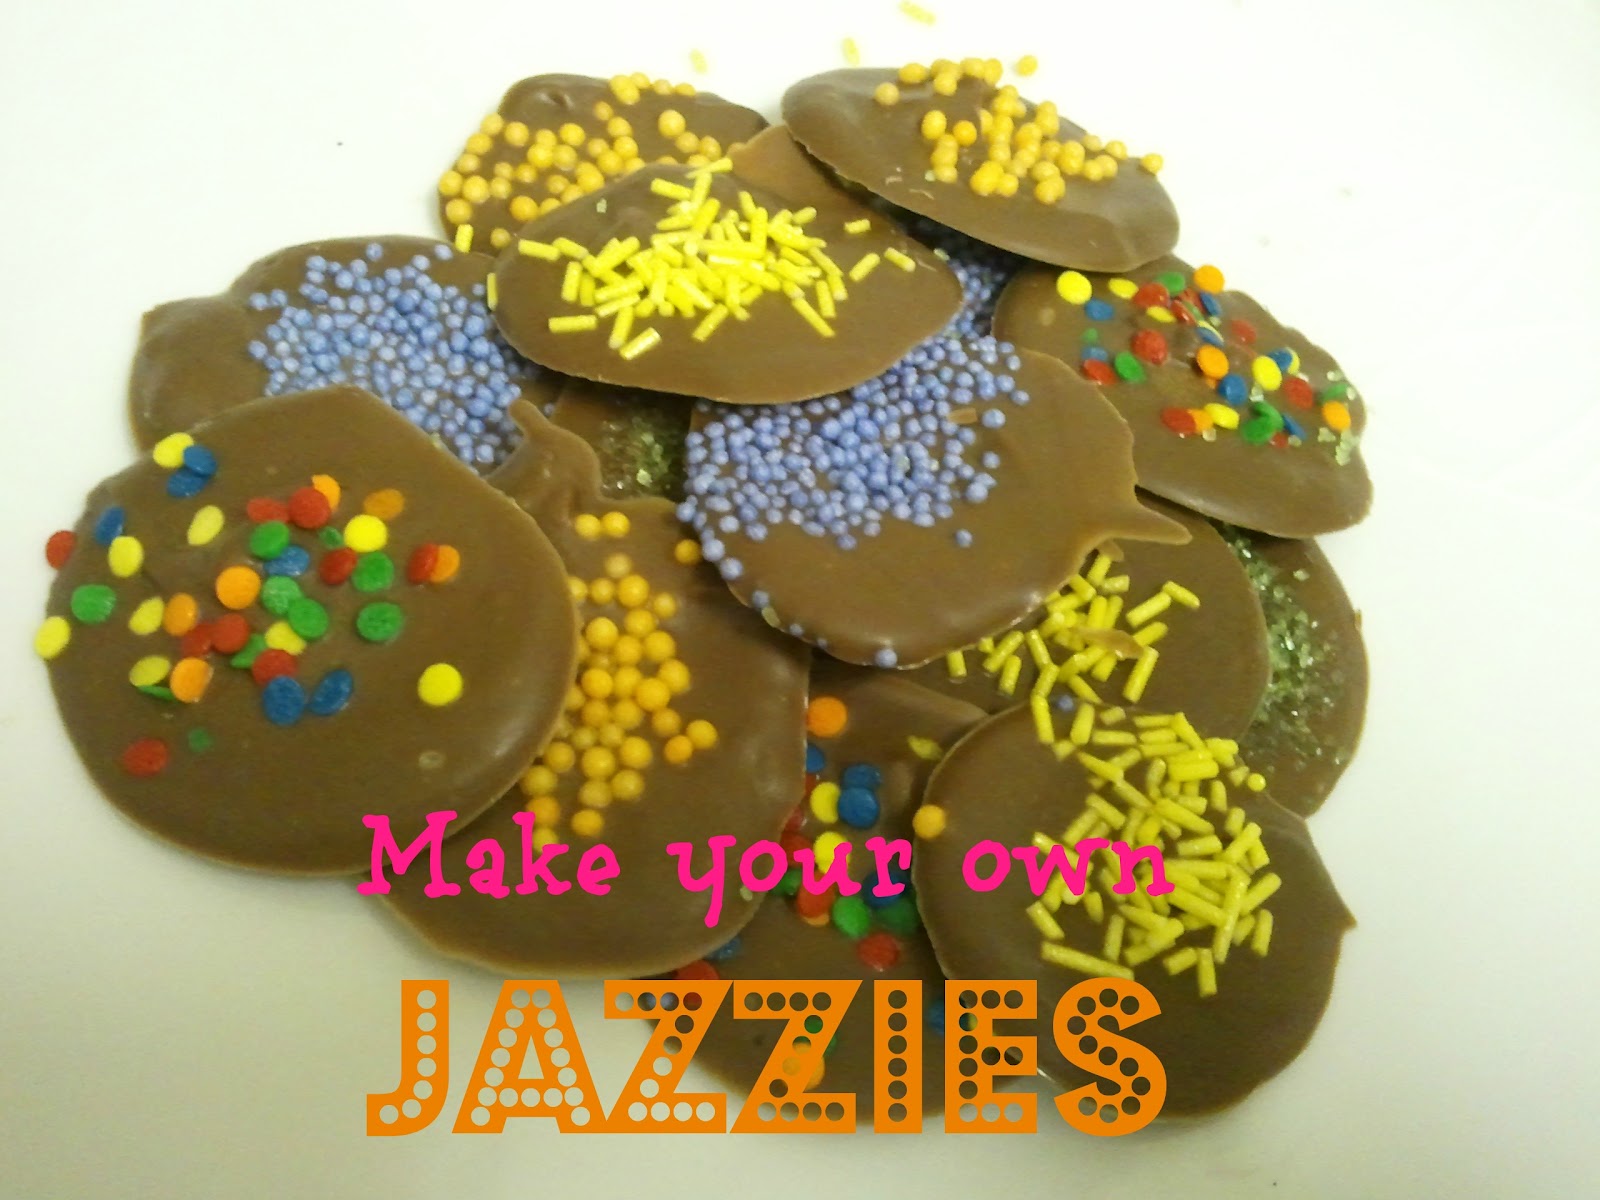
  • Wonka's Jazzles are still available in the shops today but I remember them being around even in the 80’s. Were they around before that? Making your own can be extremely quick and fun for children and here’s how.


What you need:
Chocolate of your choice
Sprinkles (optional)
Dried nuts or fruit (optional)
Colouring paste or powders (optional)
Cling film

Instructions:
Step 1: Place a plate covered in cling film in the fridge for 30 minutes before starting the activity.
Step 2: break up your chocolate and stick it in a microwavable safe bowl.
Step 3: place it in the microwave and heat till it is melted through. Stir in between to stop burning and uneven melting.
Step 4: use a spoon to pour small amount onto the cling film. They can be any size or shape.
Step 5: sprinkle on your fruit, nuts or sprinkles.

(Optional: add your food colouring to the chocolate once melted)
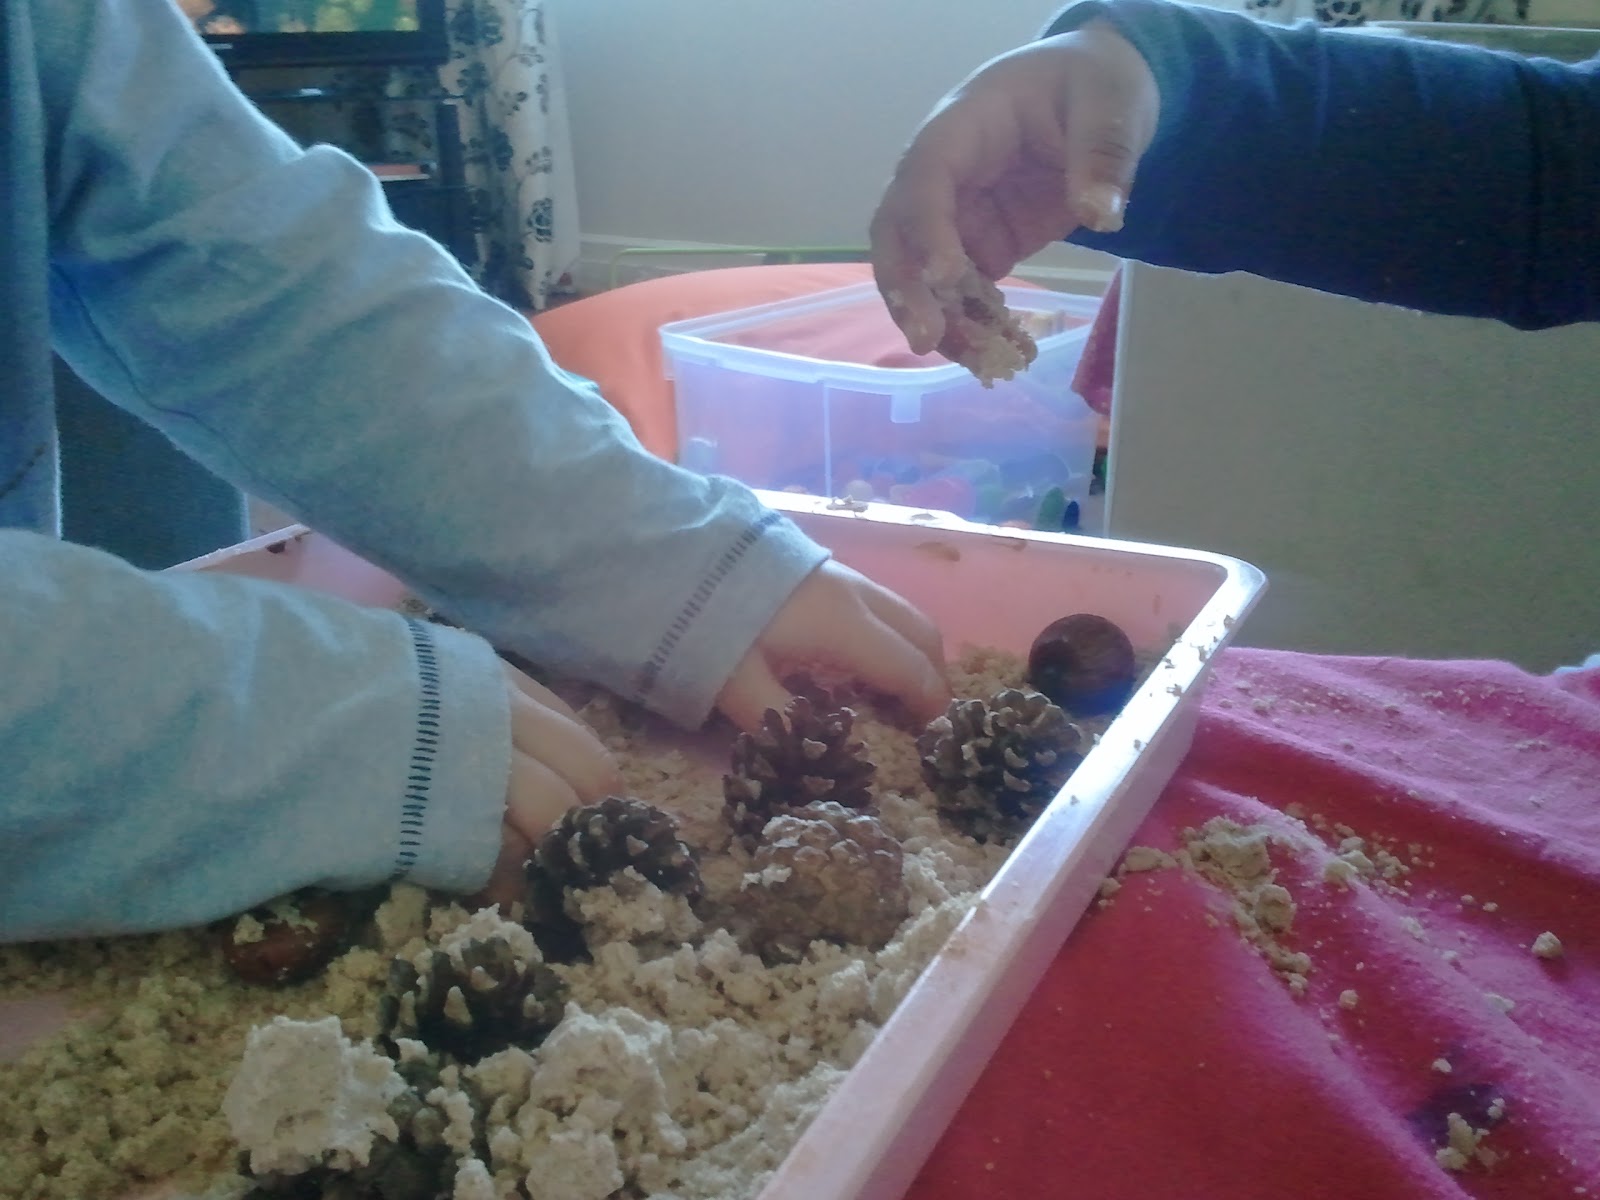

  • Children love to help bake with their parents. It can be a great way to introduce new foods which they might not normally try out. You can use this opportunity to discuss with them measuring out the ingredients, counting on the scales, the texture of the crumble mixture and safety in the kitchen.


What you need:
Sliced peaches tinned or fresh
150g of brown sugar
115g of cold butter
50g of flour

Instructions:

Step 1: Preheat your oven to 180 degrees
Step 2: Sprinkle the peaches out on the bottom of a baking dish.
Step 3: In a separate bowl mixtures the sugar, butter and flour.
Step 4: Rub the mixture together in between your fingers to make crumbs
Step 5: sprinkle the mixture over your peaches.
Step 6: Place the crumble in the oven for 30 minutes or until it is golden brown on the top.

Photo credit: http://www.flickr.com/photos/hamburger_helper/


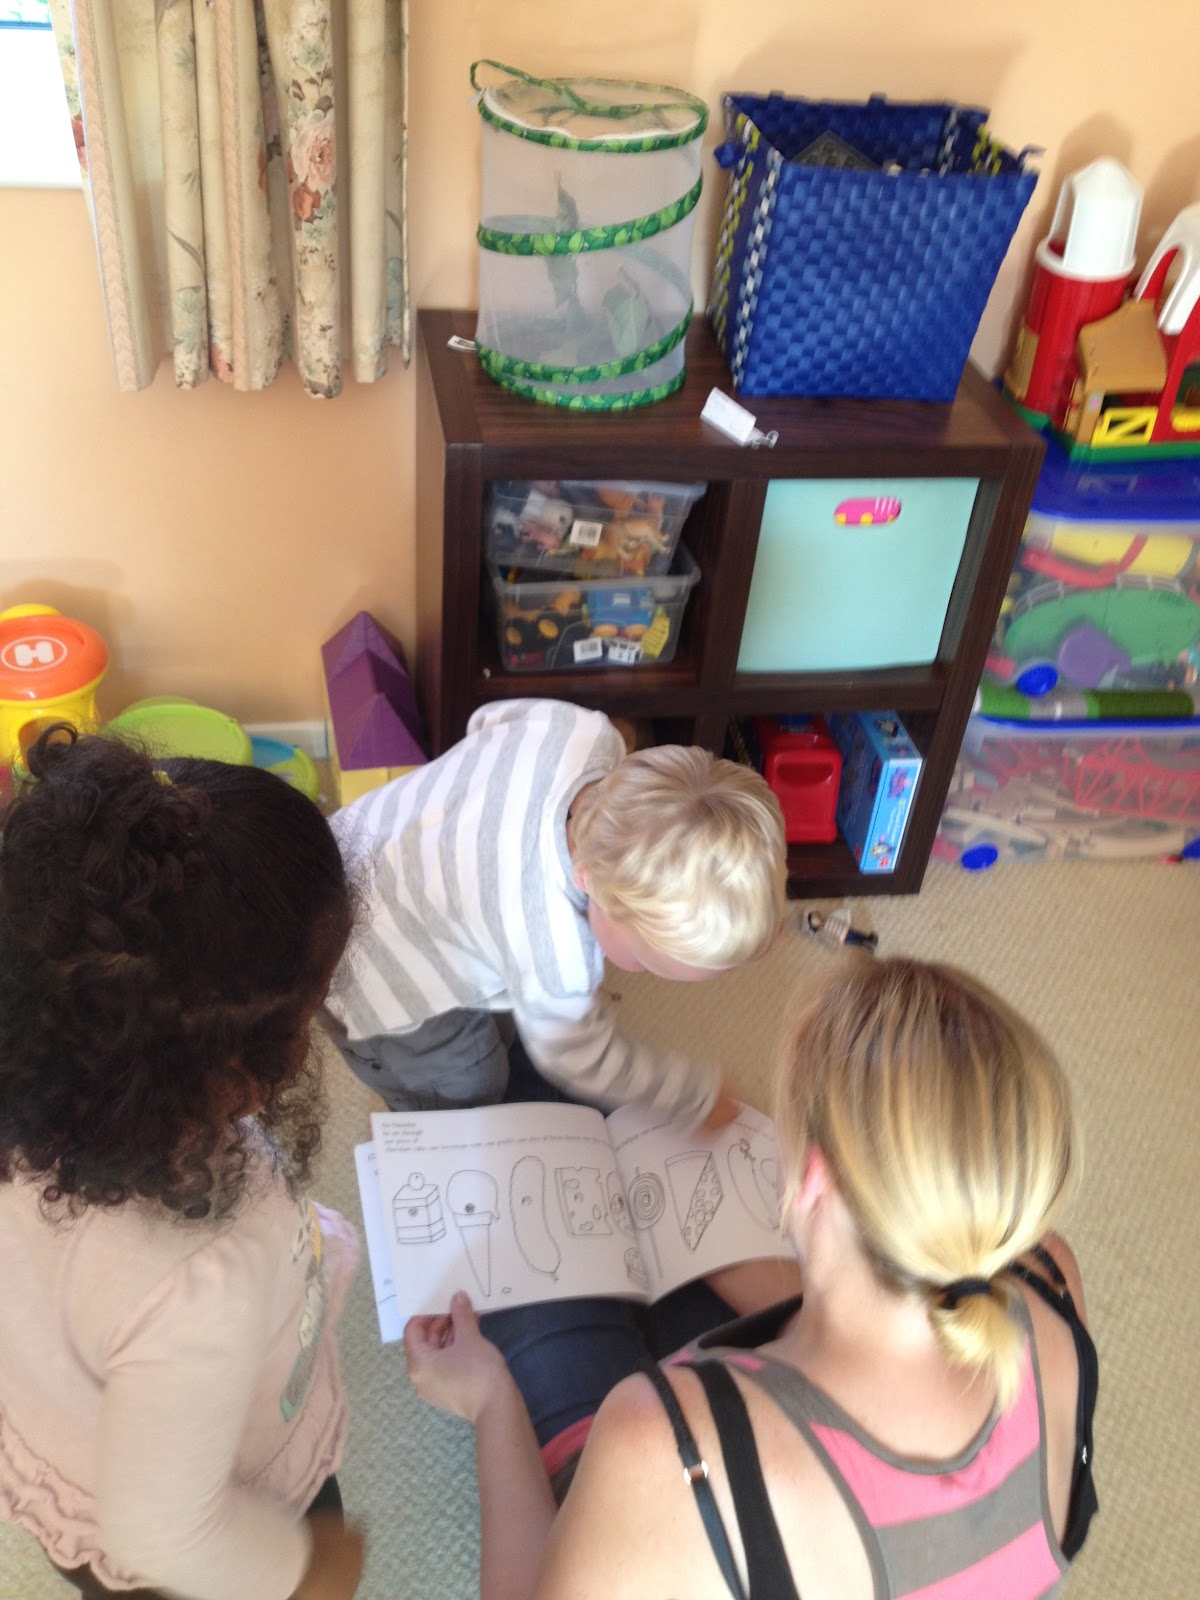
  • Cuddle up and read a great Roald Dahl classic, our favourite is Georges Marvellous Medicine. I love to watch the children's expressions while we read. G is always laughing, smiling or in shock. 


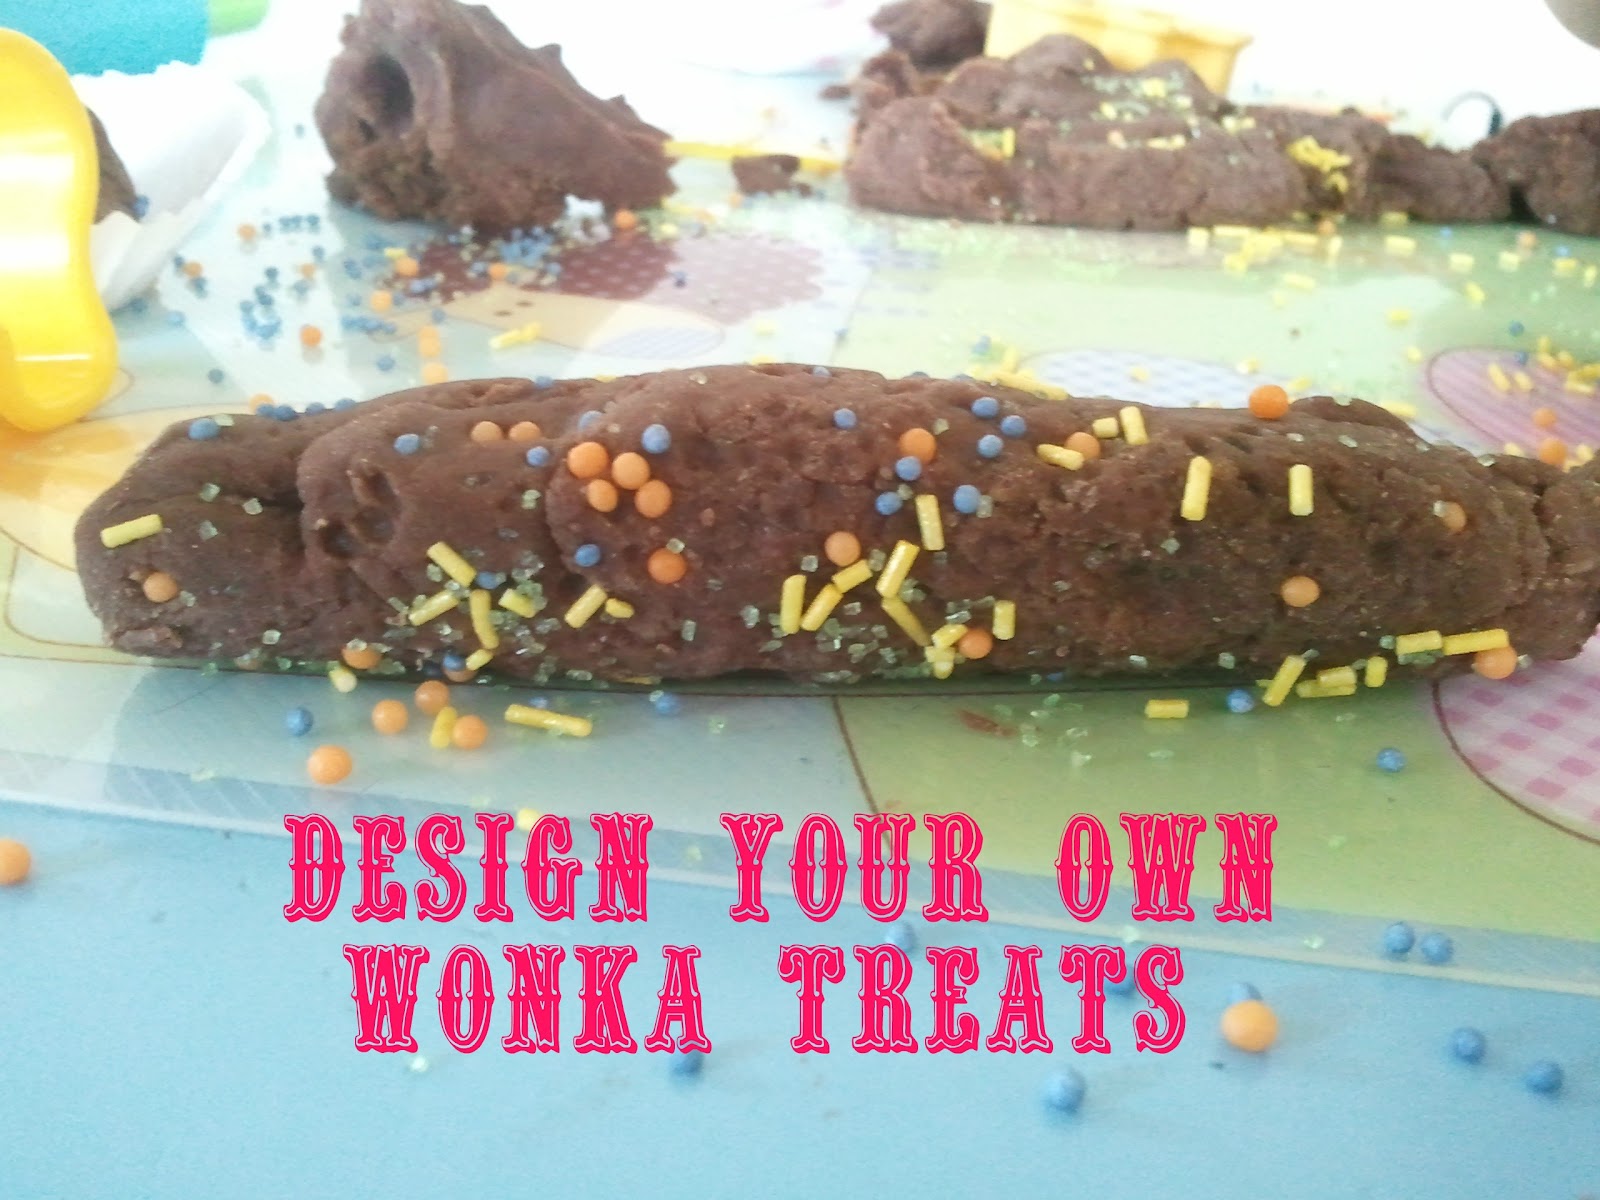
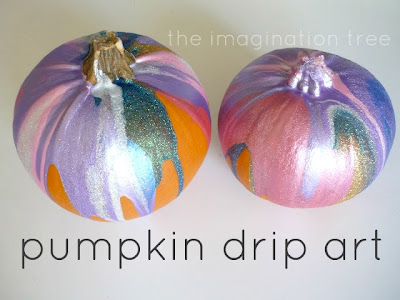
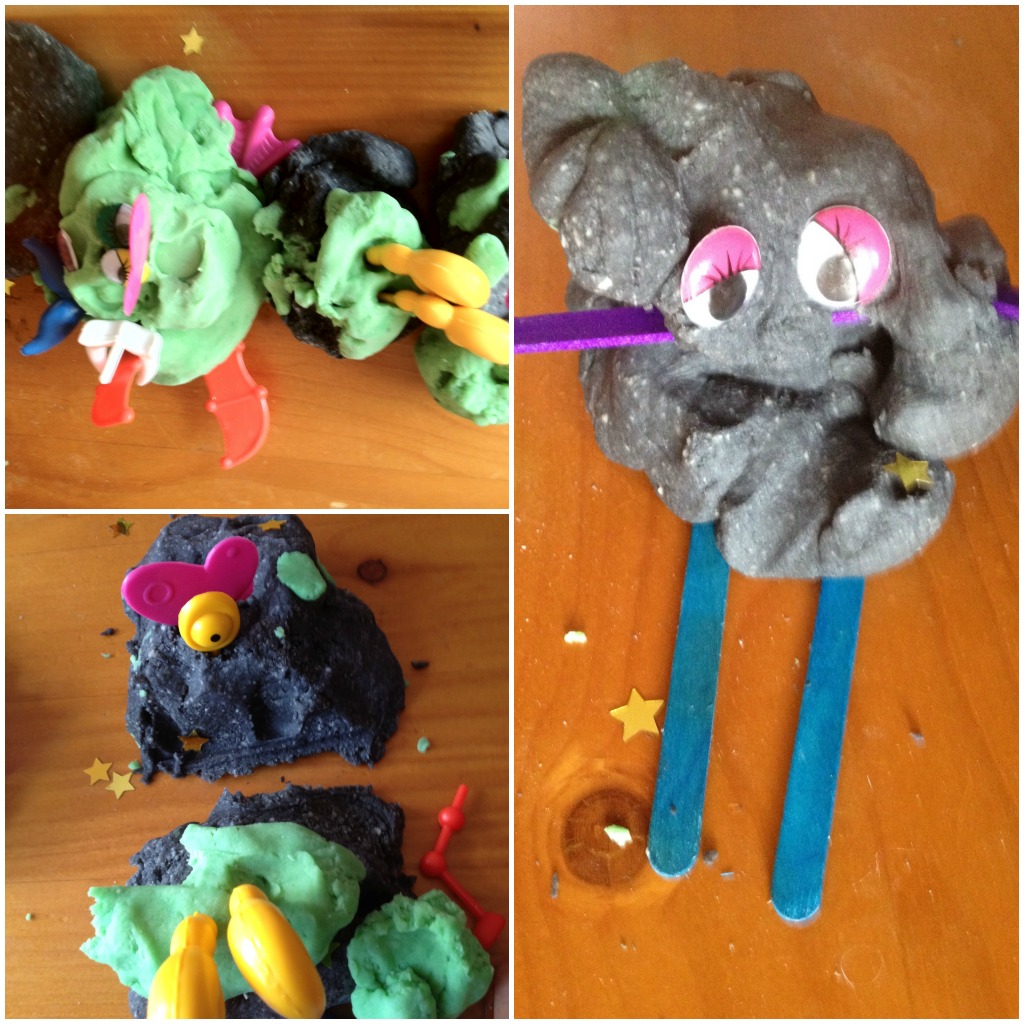
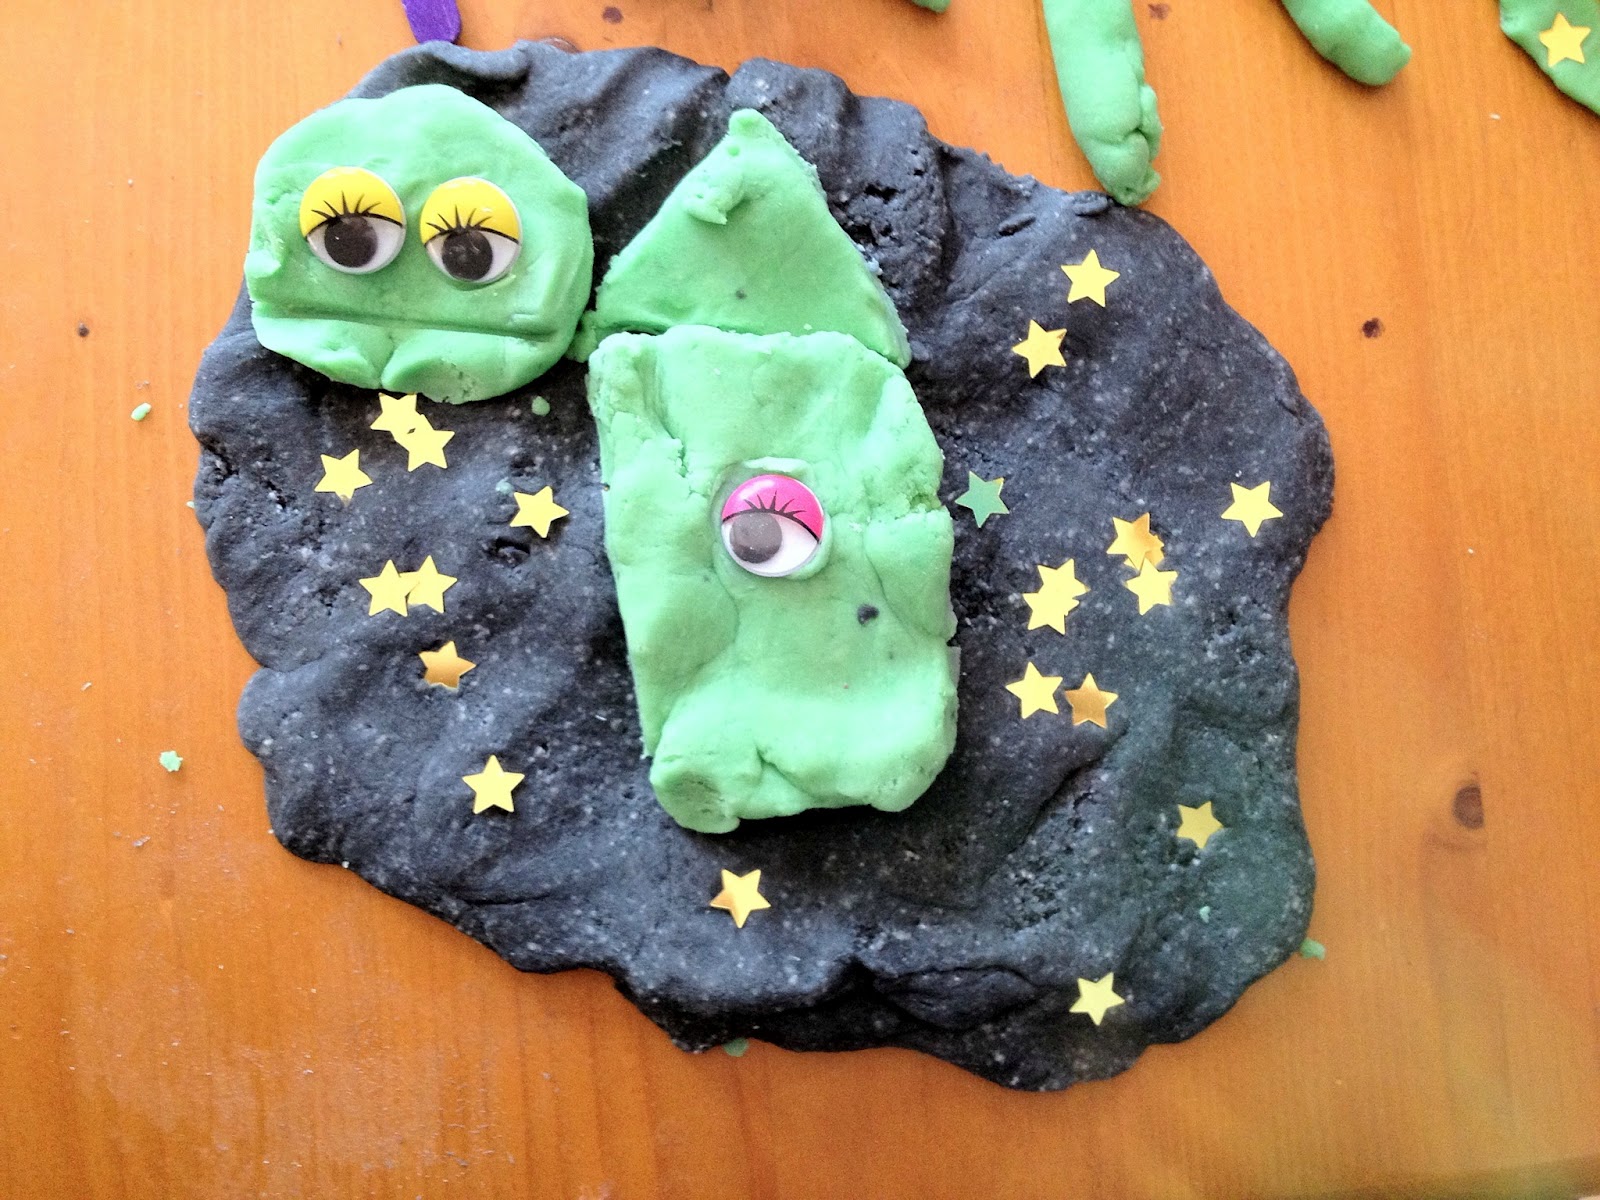
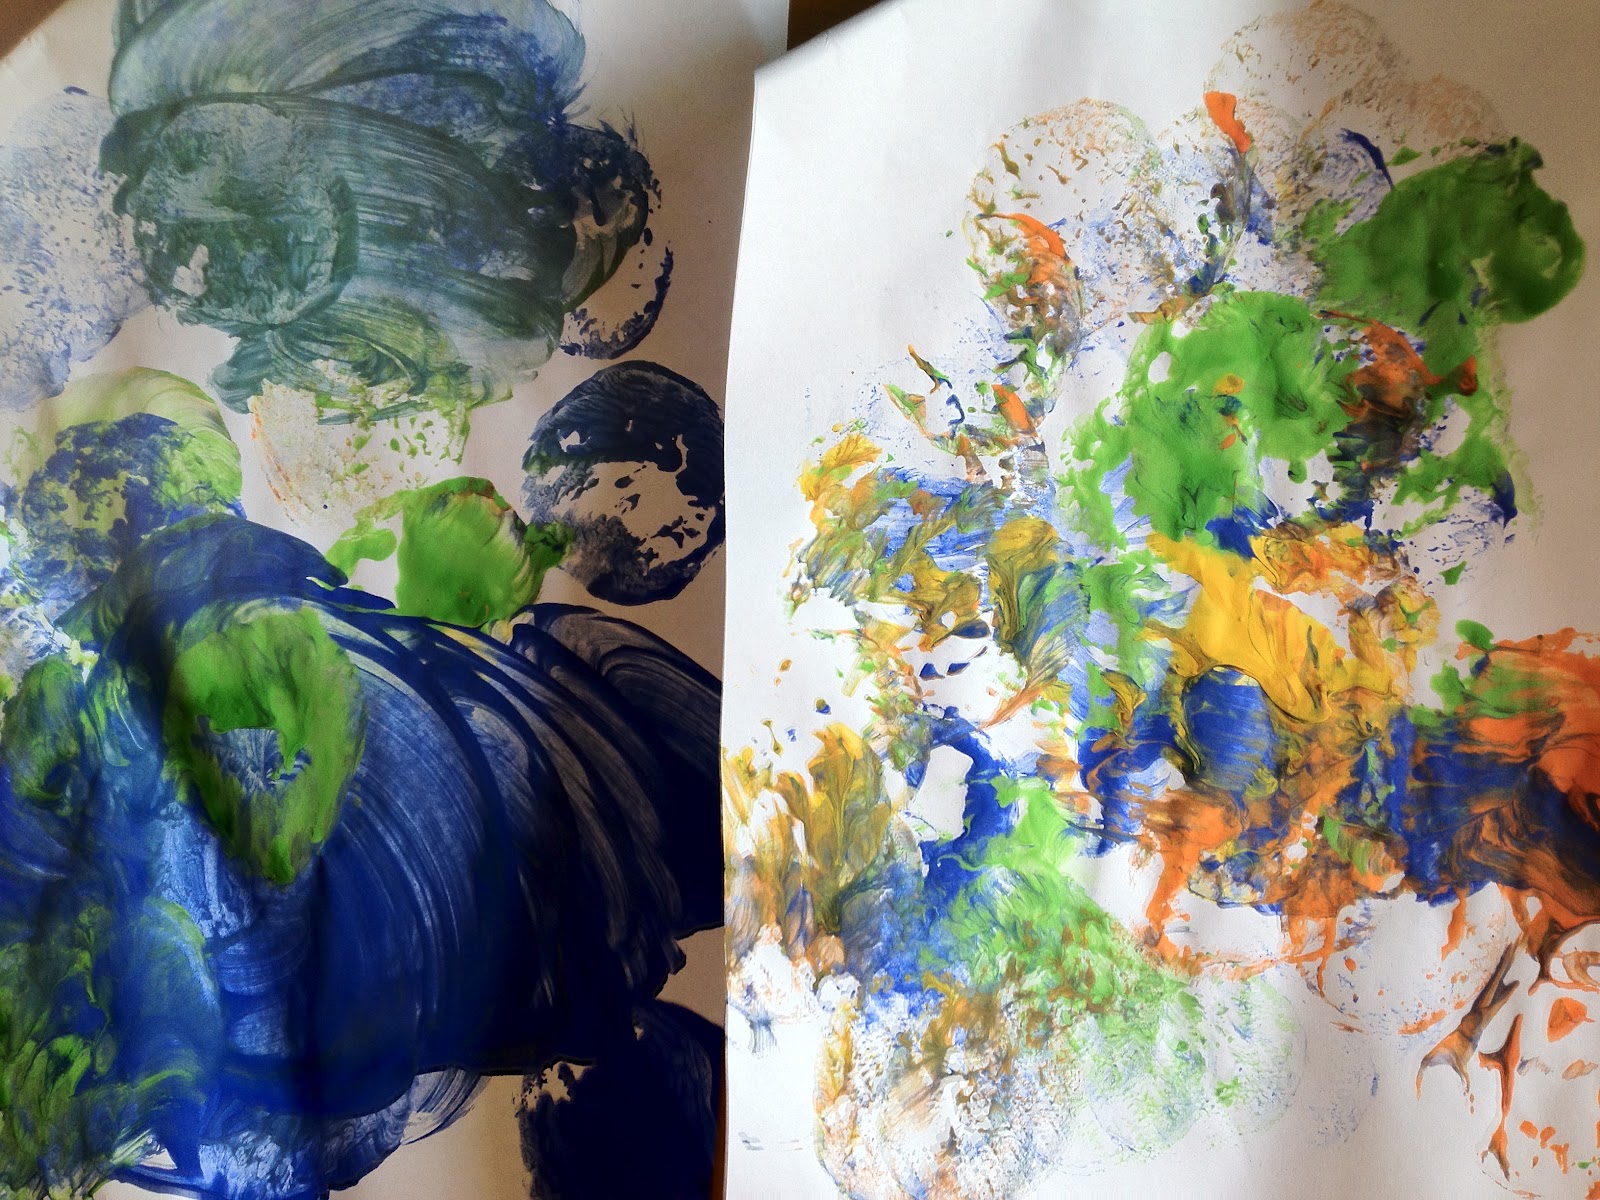
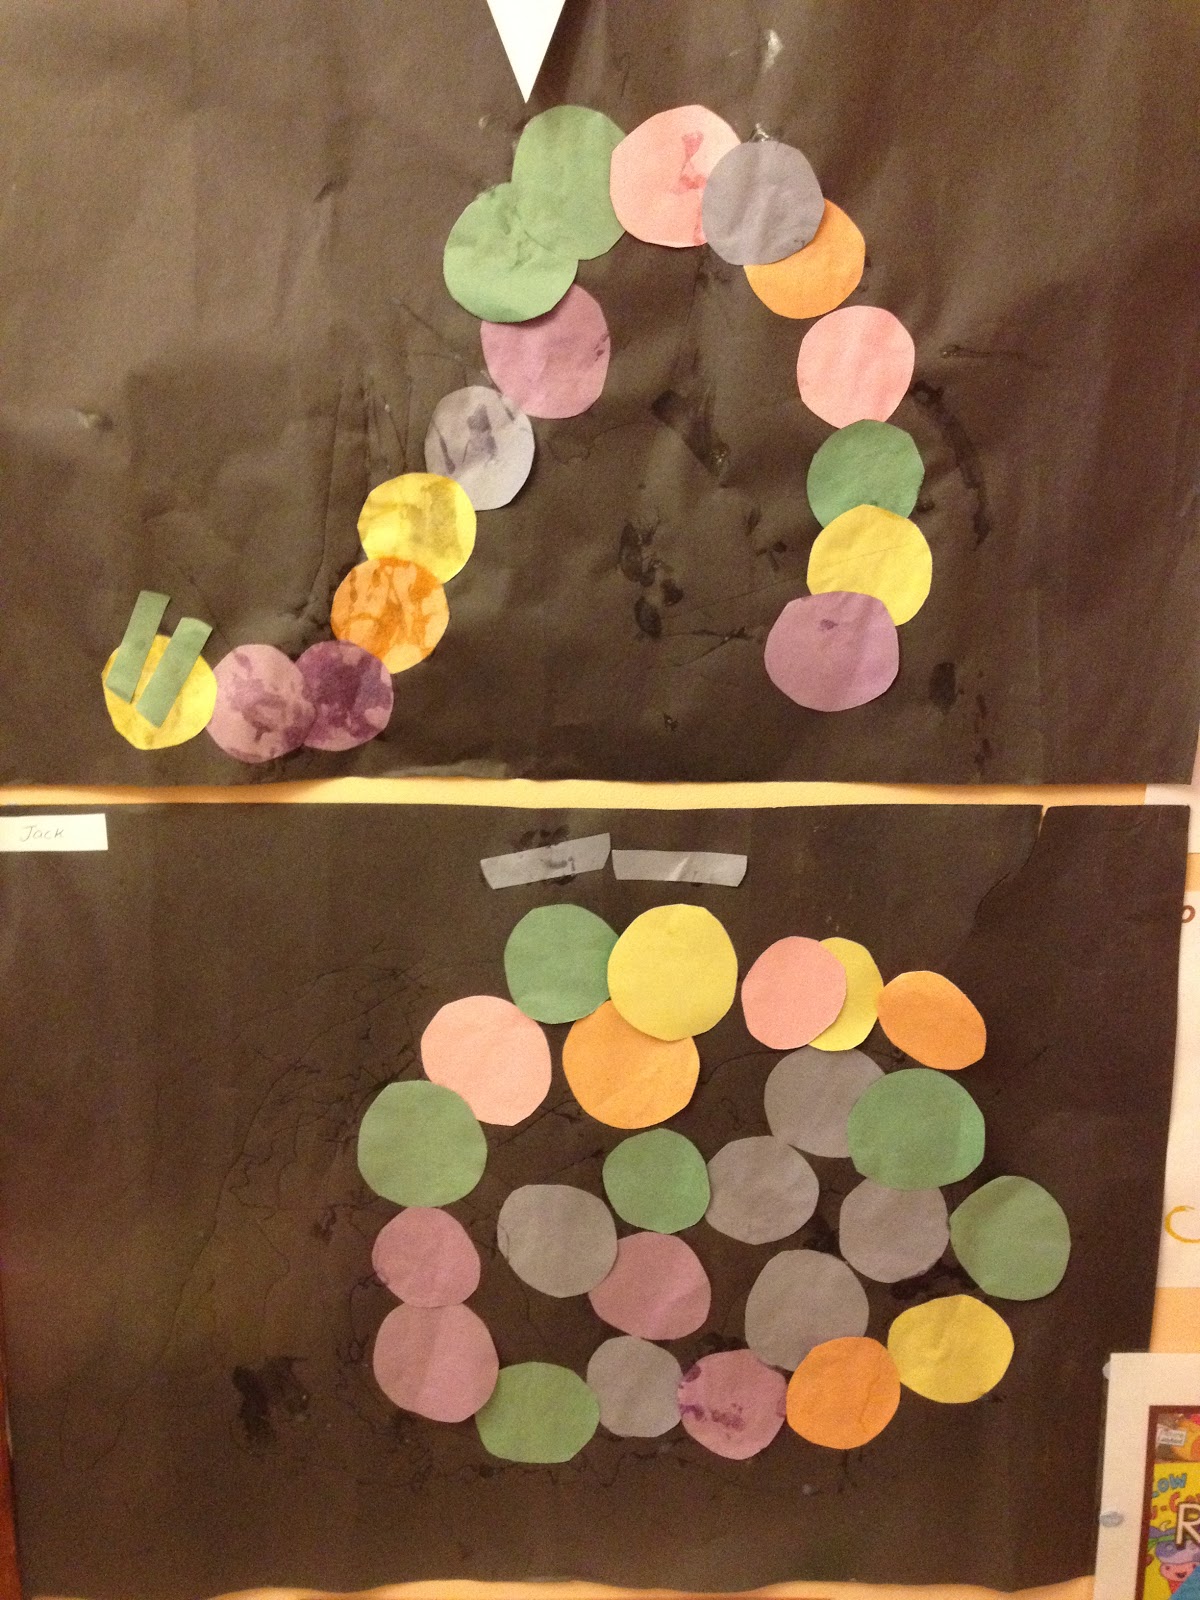
  • Use colourful playdough to come up with exciting new Wonka sweets or try our chocolate play dough recipe. 
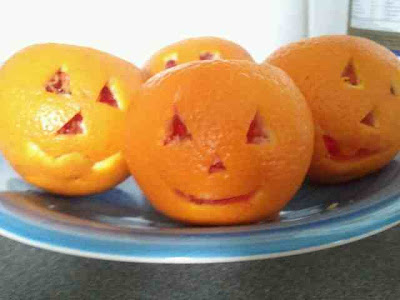
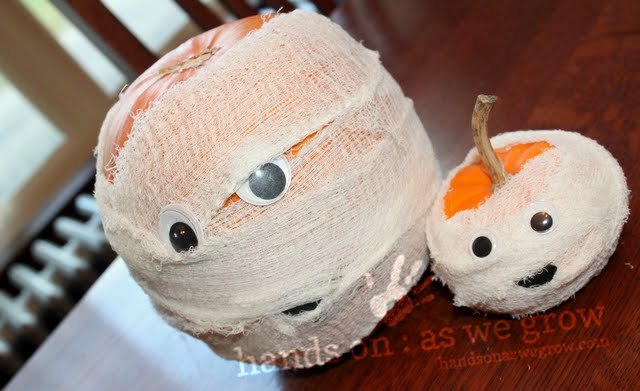
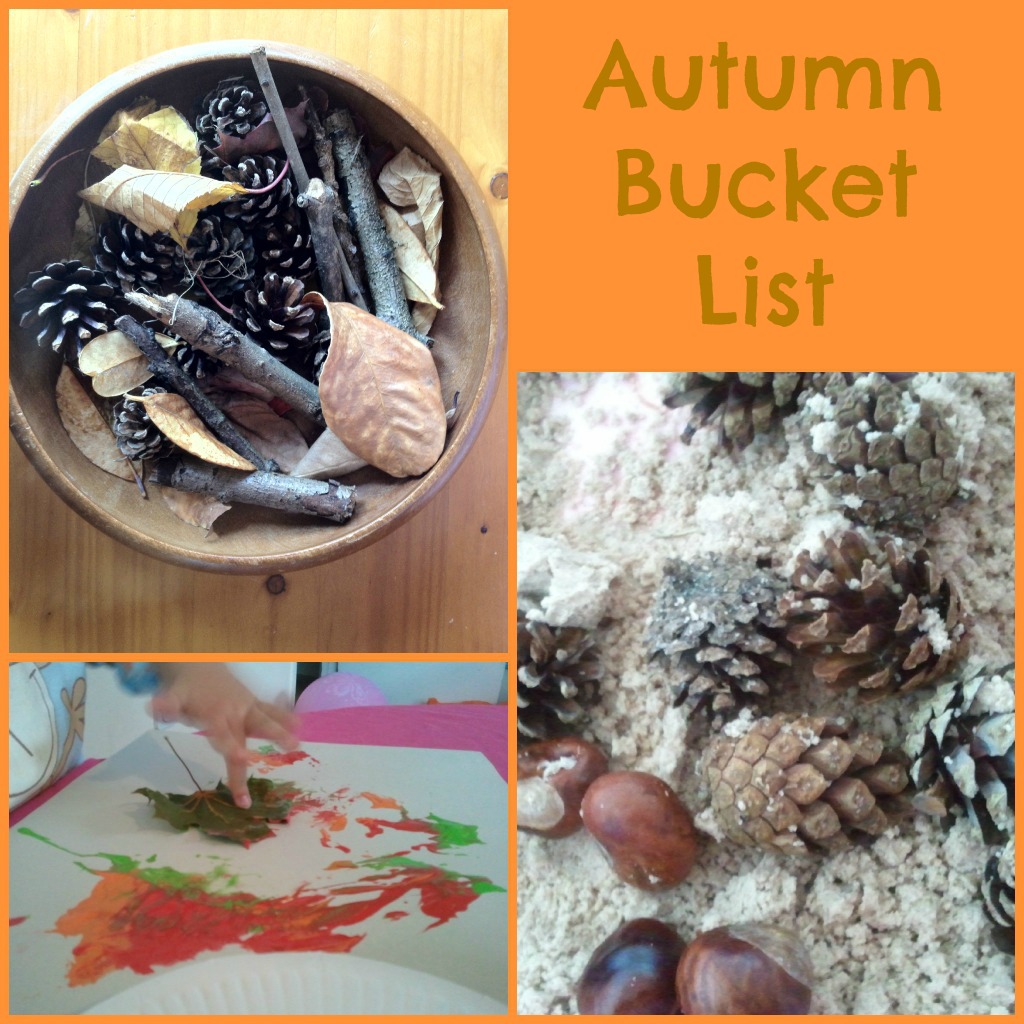
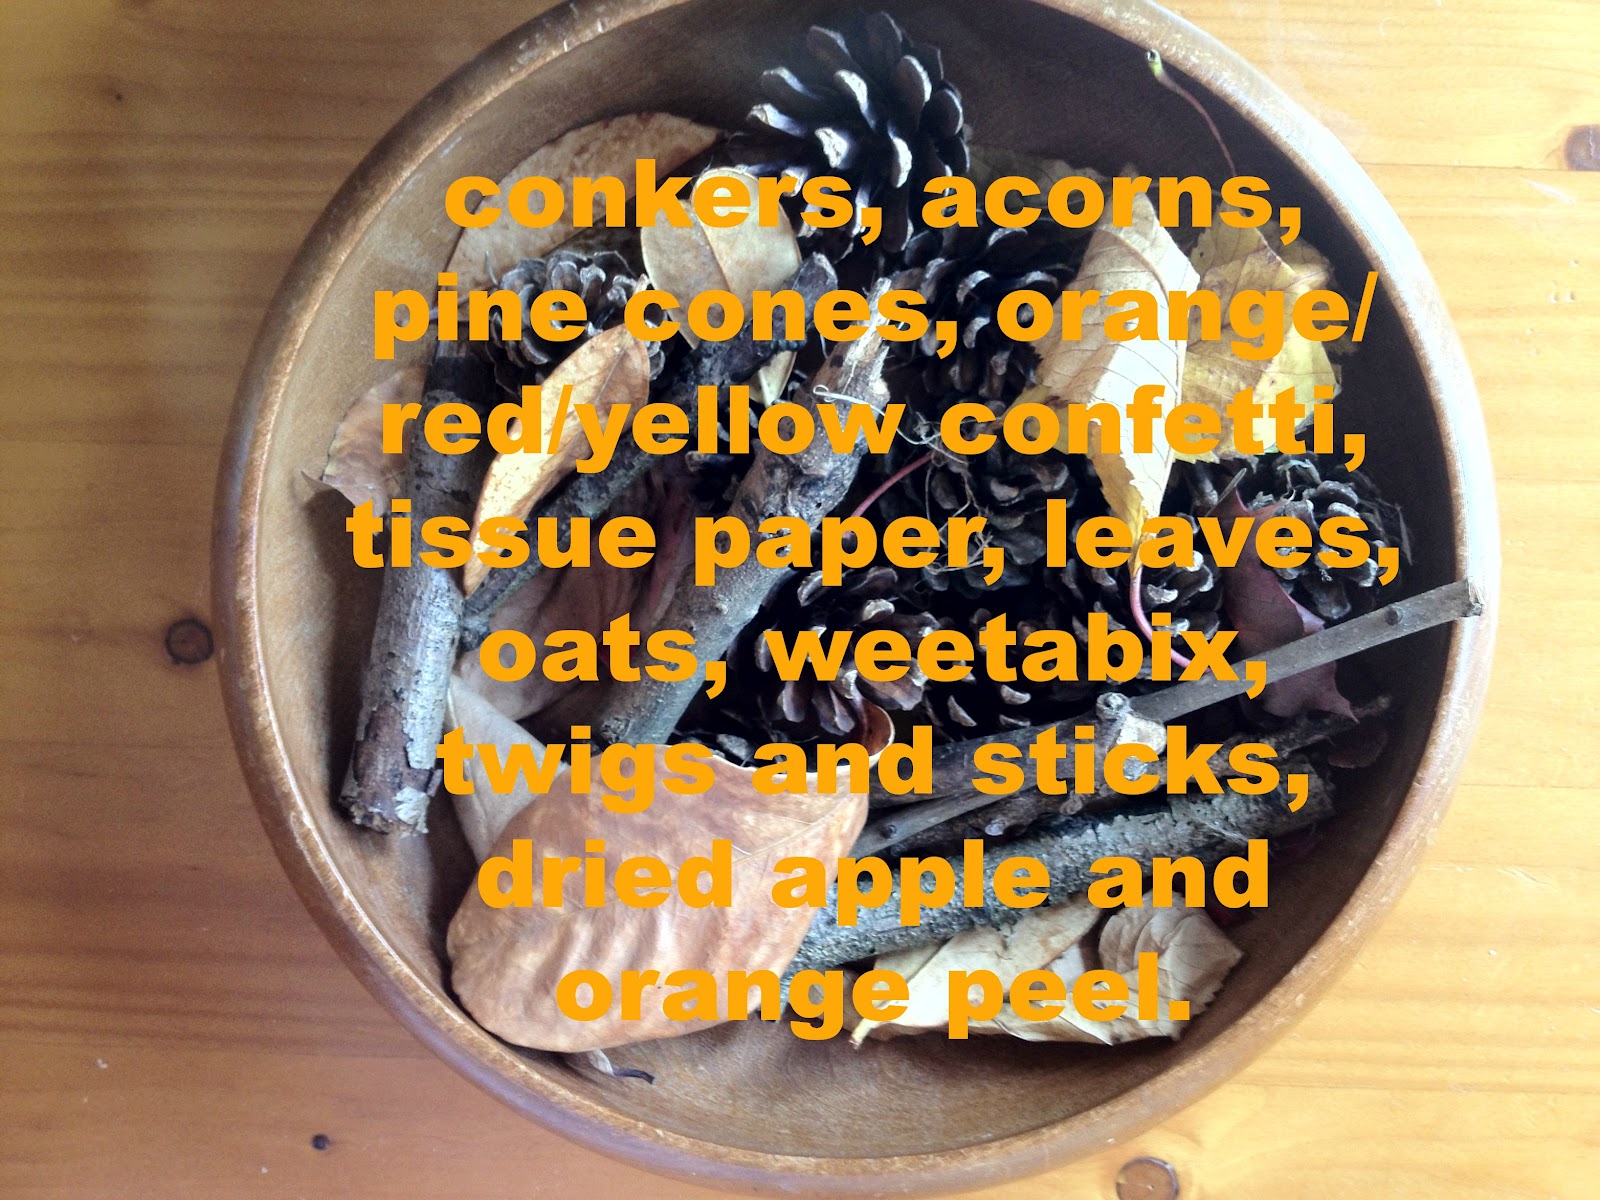
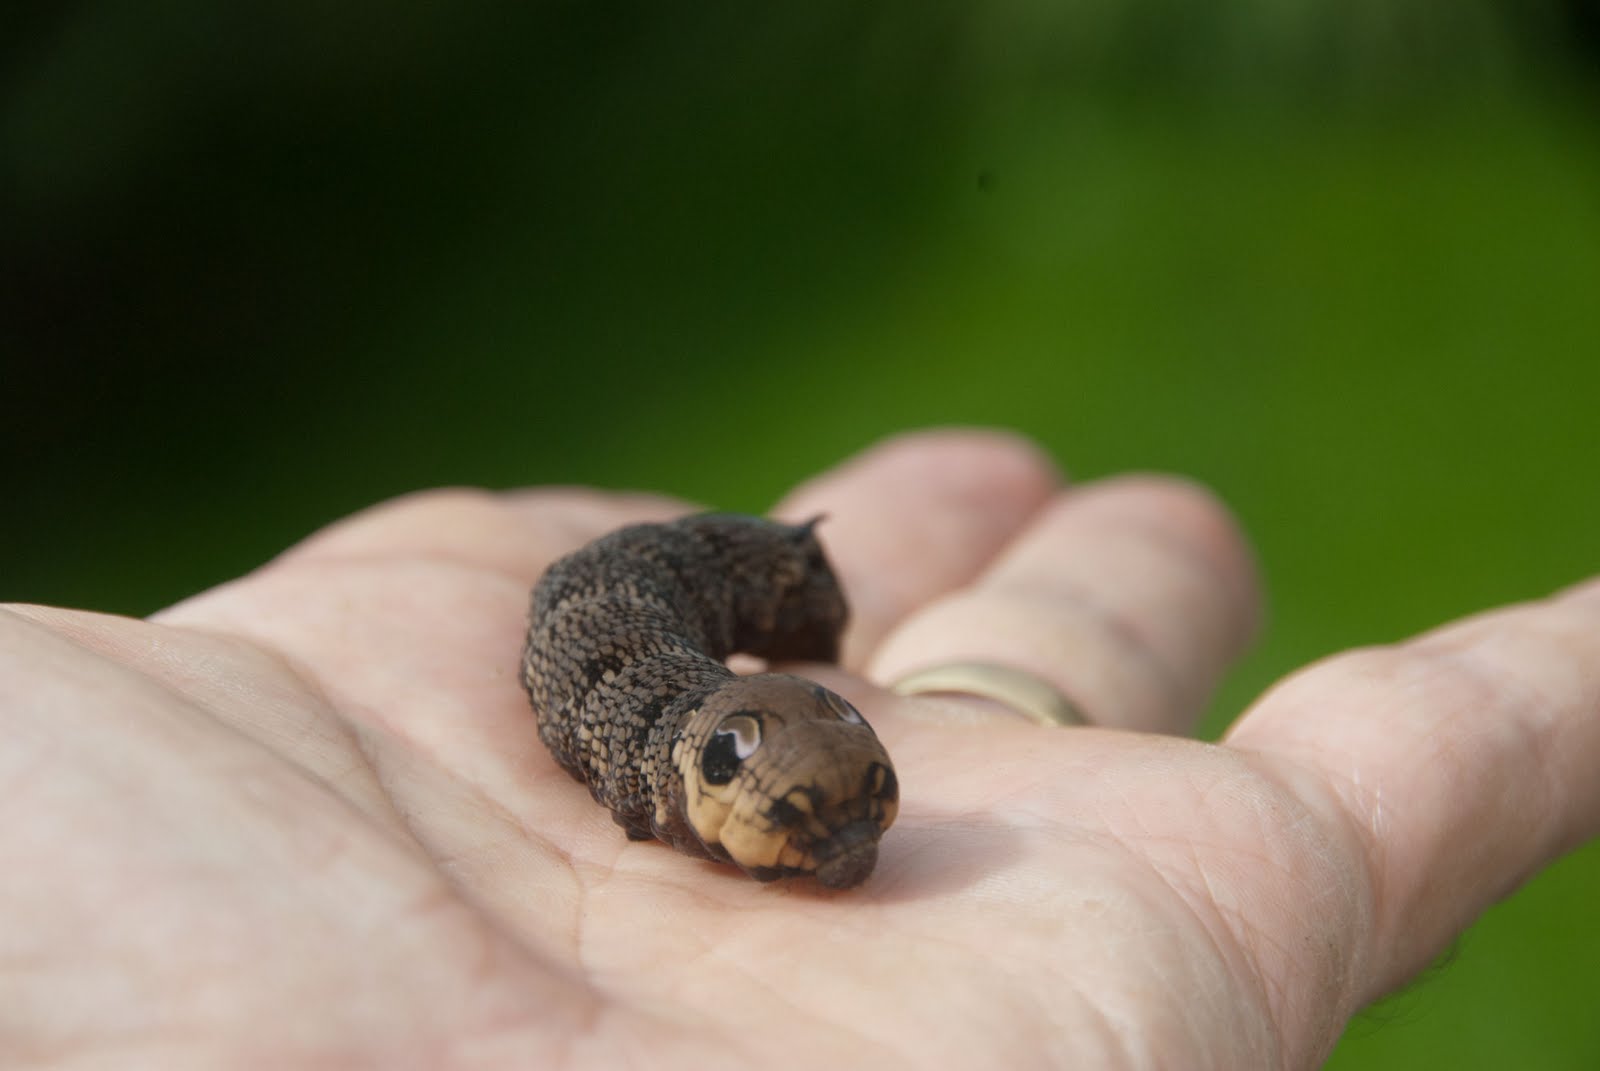
  • Go on a James and the giant peach mini beast hunt. 

Monday, 10 September 2012

Halloween Cake Pops


I know, I know its only September but there's nothing like being prepared is there? This is a recipe I use at home for making Cake pops. Usually i make them with fresh cake but in this example I have suggested cake mix to make it easier for people. If you'd like to make it from fresh they are even nicer!!

1 box of cake mix (cook as directed on box)
1 can cream frosting
1 package of cooking/ coating chocolate
wax paper
Cake decorating pen

Step 1. After the cake is cooked and cooled completely, crumble into large bowl.
Step 2. Mix thoroughly with 2 heaped table spoons of frosting. (It may be easier to use fingers to mix together, but be warned it will get messy). Alternatively use melted chocolate to mould them and they will last a lot longer.
Step 3. Roll mixture into quarter size balls and lay on wax paper or tight clingfilm.
Step 4. Chill for several hours in the fridge or 30 mins in the frezzer.
Step 5. Melt chocolate/ candy melts in microwave per directions on package.
Step 6. Dip the end of the lolly stick into the chocolate then pop them into the balls about half way through.
Step 7. Once the end is set dip the ball into the melted chocolate. Step 8. knock the stick gently on the side of the bowl until the extra chocolate has dripped off. 

Saturday, 8 September 2012

Tuff Spot: Autumn Cloud Dough


Last  Autumn  we were exploring a range of sensory activities. I had just started Childminding a little girl who didn't like to get her hand dirty but at the same time she loved to explore. Sensory activities such as using shredded wheat, sensory gloves and flour play are just a few of the ideas we used. 

Little man having just turn two was starting to notice the changes in the outdoor environment. On the way to pick his sister up from school he would stop to investigate large piles of leaves and collect acorns and conkers. With this in mind we saved his collection and took them home to explore further. 


The children helped me put together a basic cloud dough recipe and I then added some Nutmeg and cinnamon to give it another sensory element. Its smelt lovely!!


The children enjoyed pressing the dough into the pine cones we had picked up and then shaking it to watch it fall back out. little man rolled the conkers through the dough leaving prints then covered them up and dug them up again. 

Thursday, 6 September 2012

Revisiting 10 Great Halloween activity ideas


Over the last few years that I have been working with children I have found a love for the colder months of the year. Not for the weather itself but because of the exciting ideas which seem to sprout from my brain. Autumn and Halloween being the main fuel our creative plans. It may only be September but for many people working in early years its time to start collecting resources and  preparing for the Autumn season. So to give some of you a hand we will be revisiting some previous posts from Playful Learners and some of our favourite blogs. 


Halloween jelly messy play


halloween memory game

Halloween Memory game- Nurture Store


pumpkin drip art painting autumn fall


Child-safe pumpkin lantern from a jar

Pumpkin Night Lights- Domestic Goddesque


pumpkin mummies craft


Enjoy!!
Related Posts Plugin for WordPress, Blogger...