Saturday, 26 February 2011

Olympic Pride

Yesterday I took the children for a bus trip into town. P loves taking the bus, we always play I spy with colours on the way and usually she will have the other passengers laughing after she repeats spying the same thing over and over again. Once in town I took them to the library where there was a themed play event running for children 4+ and what better it was free. I love a bargain!!!

P stripped her coat off straight away and got stuck in, first of all we helped build something for the Olympic village which started off as a large sheet of mdf sitting on top of a table. Around the table the children were deeply concentrating on buildings and swimming pools for the village and without saying a word P started to cut materials and sticks bits together. By the time she was half way through she announced that she was making a life guard stand to the staff that were walking around and then moved onto add a feather as the chairs back and a few stars for decoration. P placed her lifeguard chair next to the swimming pool another child had built and proudly added her name.

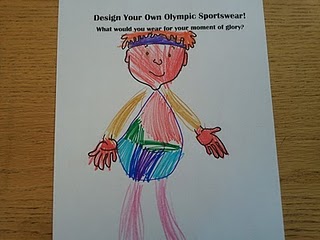
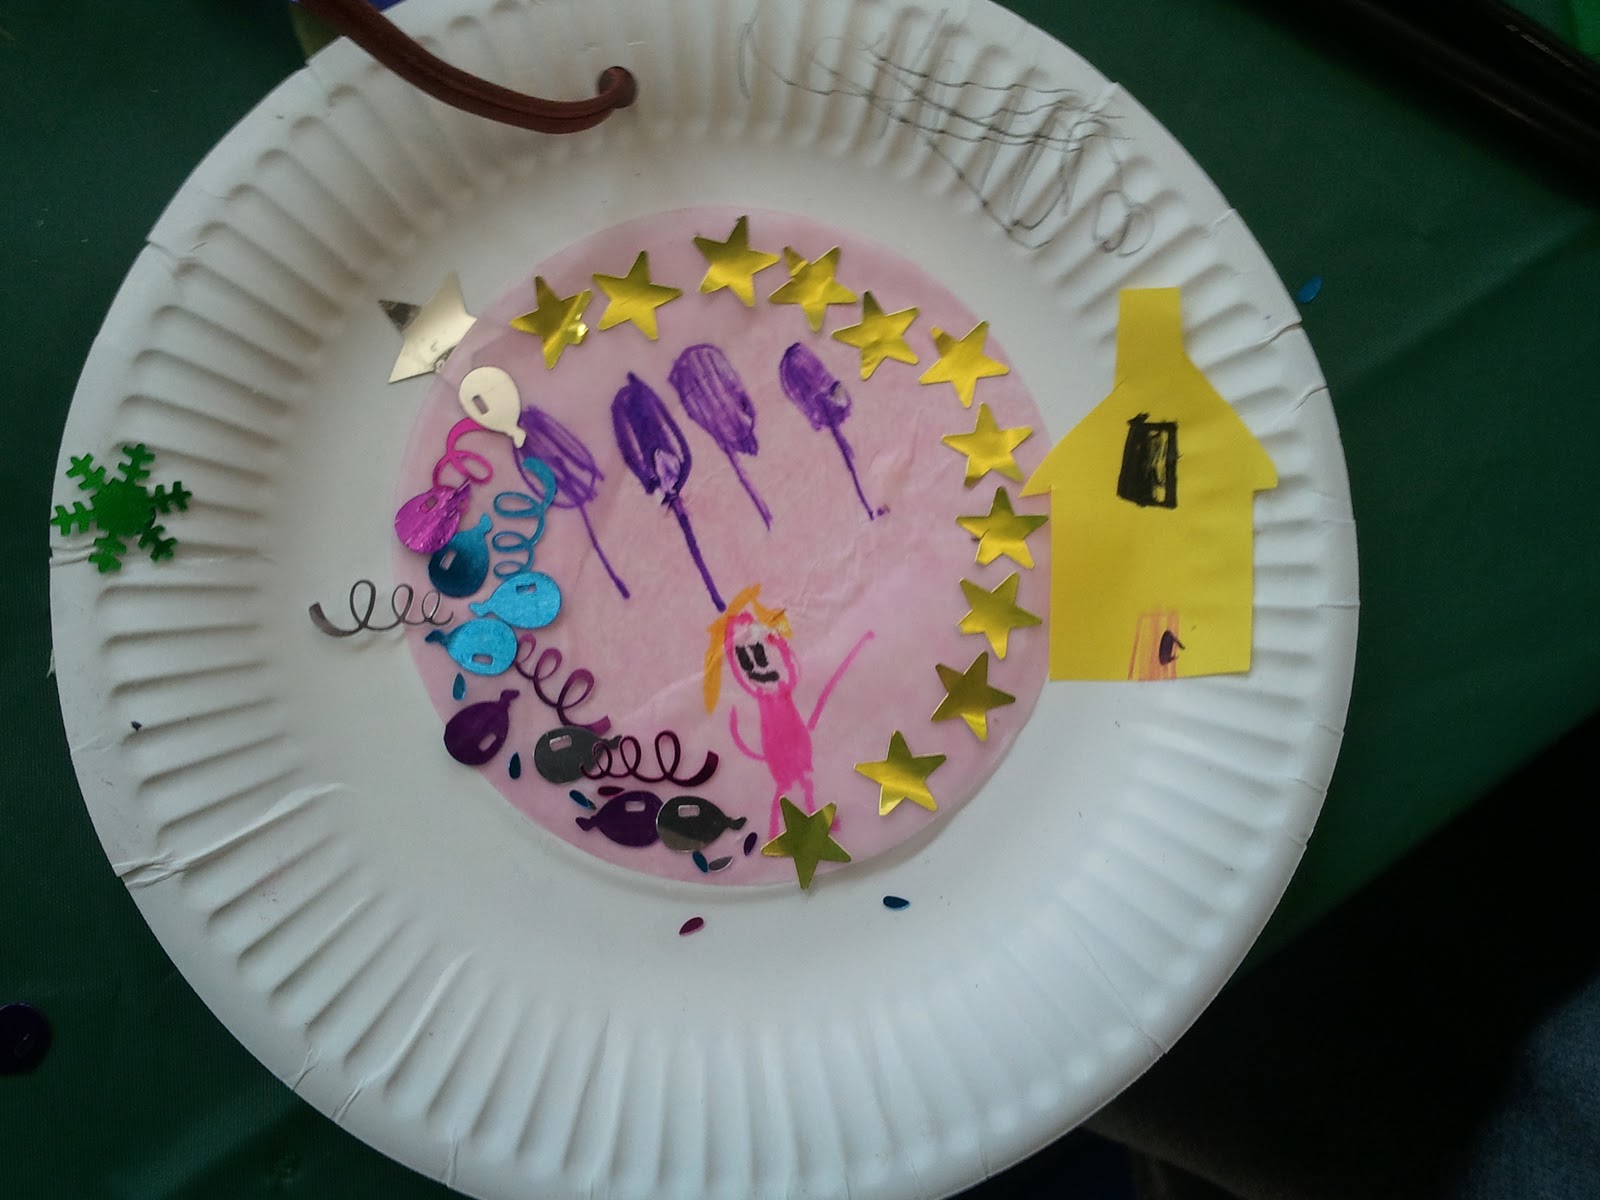
Afterward P ran over to design her own sports outfit, I must say you wouldnt miss her coming in this! After ward we spent ages making a gymlastics medal. P loves gymlastics and starts again this term, she is desperate to learn how to do a backwards roll and she was very happy with her winning medal. Im not sure whether you can work it out but P is in the middle and above her are the balloons to celebrate her great gymlastics.


Photobucket

Thursday, 24 February 2011

shapes under the sea


Last night P sat down at the table with her dad and did a little bit of sticking. Earlier in the day I had cut up some shapes ready for her to use. I thought it would be a good way at getting her to look at shapes in the outdoor environment. I cut a variety of shapes but stuck to one coloour per shape to help her tell the difference.

P Choose to make a ship wreak, poor daddy had the fun of talking about the shape of a broken boat opps! I think it turned out lovely with fishes around the outside and even daddy had great fun helping draw the faces on the fish. When we do this next time I will introduce more complicated shapes.

Another good activity to try is finding objects from around the home for them to draw around and work out what shape they are.
Published with Blogger-droid v1.6.7

Monday, 21 February 2011

Monkeys Doodles: Sponge Painting

Welcome to Monkeys Doodles a place where we like to share the activities we enjoy doing at home to encourage my Lady P and Little Mans self expression and learning through play. Monkeys Doodles offers a linking tool for you to share your children activities with others.

This week end Lady P wanted to get out the sponge and finger painting set they were given by their grandad. With these type of activities I tend to let P lead and decide what she would like to print and paint. I find that this way she will get the most out of it and normally the art will be lead by her interests.


P decided that she wanted to do printing and folded the paper in half to make a butterfly then she changed her mind a wanted to use some of the stamps. She choose the dolphin one first and painted a sea for them to play in. While she played I asked her couple of questions about what she was painting to extend her learning but kept it to just a few as I find other wise children can feel uncomfortable and may want to do something else.

Here it is P's little piece of art work I think it lovely and colourful P on the other hand was a little disappointed when she opened it up to find the dolphin had changed to what she thought were bull frogs! What have you been up to this week? we would love to see what fun you have been up to.
Photobucket


Friday, 18 February 2011

Cookie Cutter Art

Today me and little man spent the morning making some more pictures for the children's bedroom wall. The idea for the wall gallery is that it would help brighten up their bedroom because due to our rental agreement we can not paint or add shelving. I will be adding pictures of the gallery once it is all finished. So today I thought we could do an activity which is easy but eye catching, Cookie cutter printing.

Little man started off by dipping the cutters in the tray of paint and hitting them on the paper, he soon discovered that the paint we were using was cold on his hands and started to slowly ease his hand through the paint. Last week we had done some hand painting so I knew what was coming next! He spread his hands all over another piece of paper which I quickly put down. I introduced different cutters and different colours of paint after five minutes to help keep his concentration and interest in the activity.

I think these will look great in the gallery!!!

Photobucket

Thursday, 17 February 2011

Play Dough Mats

This activity is an old but favourite of mine. I think play dough can be great for relieving frustration for children and adults. It can instantly calm a hyperactive child and helps children to express themselves. I used to have great fun making these mats to help support children's learning. For example making a mat of a crocodile with no teeth will allow opportunities for counting and discussions on dental health.

P Loved decorating the fish mat with fins, an eye and mouth. she then took it all again to give the fish scales and then put the other pieces back on again. She had to think about the shape of each part of the fish.

I used the plain sea mat as a chance to discuss with P what lives under the sea. She came up with fish, crabs and snail. I suggested sharks, dolphins and jelly fish. P had ago at drawing most of them. When then went on to talk about how we could move under the sea which is what gave P the idea of making a submarine.  The activity  lends to fine motor skills, encouraging P to press, pinch and join the play dough together.

To make your own playdough mats simply use coloured paper to decorate a back ground and then laminate it. This will make it easy to wipe down and reuse the mat.


 Photobucket

Monday, 14 February 2011

National Heart Month- Being active

This month is National Heart Month and I thought it would be nice to focus some of our weekend activities towards this. So I made up some hearts with different actions on them such as run, hop, read, sleep. I made sure I had an equal amount of each and then got P to check them over and she read each one of them out (I like to encourage reading where possible). P then choose one of the of the heart and had to do the action for 30 seconds, even little man tried to join in when he saw what his sister was doing. 
P was amazed at the difference that her actions made on her heart,''it feels like its jumping out of my chest!'' She enjoyed checked her heart after each activity and encouraged little man to do the same. The activity lead onto discussions on how being more active excercises your heart and makes you healthier. We ran through ways we could excercise P's heart more often with more trips to the park and playing sports.

Photobucket

National Heart Month- Healthy Foods Game

This month we are celebrating national Heart Month which has also nicely tied into what Lady p is covering at school (PSHE AND Citizenship- healthy foods and healthy bodies). I spend the evening cutting our some yummy foods which were rather healthy or unhealthy to eat and laminating them ready for the activity. I also made a set of heart faces 1 smilely and 1 sad.


I think P may have done something familar because she did sail through this activity very quickly but P is nearly six and it was a good oppurtunity to discuss the food P does have at home and what she should have a little less of and a little more of.

Photobucket

Friday, 11 February 2011

Valentines Crayons

With Valentines Day on the way I thought we could come up with an idea of a gift for lady p’s friends. I found a set of heart shaped cupcake cakes in our local Tesco. Yes aren’t they lush and I stupidly on picked up one set, I’m sure these would make some lovely cupcakes but that’s not what I had planned!

When I got these home I was excited to show P and get started on our fun activity and have a little bit of mummy and daughter bonding. I sat P up on the kitchen side and we got peeling crayons ready for our funky valentine’s crayons.

A little tip the cheaper our crayons the longer it will take to peel them, however it’s quite a therapeutic job while you watch TV in the evening. We must have spent a good half an hour peeling them and by the end P had ran off to play while I finished them off (Oi I can hear you I’m not a push over!)

Once they were all peeled we broke them into pieces and shared them out between the heart shaped cases. Lovely and colourful! These then went in the oven at 180 degrees for 10 minutes until they had completely melted down.

P loved the oily look when they were taken out of the oven but she was also a little worried as the colours looked mixed.

These did take about 1 hour to cool down, be patient pop them out to early will mean you could break them or mark them with your fingers. Look at these beauties!! The colour turned out fine and well mixed.

Once these were popped out and definitely cooled down and hardened we put them in lollipop bags and tied them with curling ribbon. Fingers crossed her friends will like them as much as P!


Photobucket

Sunday, 6 February 2011

Valentine Biscuits


This week I have been having a bit of technical difficulty my camera has given up and decided not to work, my phone has been sent off to be fixed so I have not been able to take photo's or get on to the Internet easily. Hopefully this will be an excuse for a new dlsr camera and sparkling new phone. Isn't it amazing how much we rely on these things.
So instead I thought I would share an idea of what we hope we will be doing this week. I thought some love heart stain glass biscuits would be perfect. I found this recipe on The sisters Cafe blog and yes it is an American recipe my scales are broken too so I am having to use my cups for this one.
Ingredients:
1 stick butter, softened
½ c. sugar
½ tsp vanilla
1 egg
1 ½ cups flour
1 c. colored hard candies

Step1- Mix butter and sugar together until they are smooth.
Step2- Add the egg, vanilla and add flour and stir until combined.
Step3- Take batter out of bowl and wrap in plastic wrap. Refrigerate for at least an hour.
Step4- On a floured surface, roll out dough 1/3 at a time, to 1/3-inch thickness. Cut out cookies with heart shapes, then cut out the middles with smaller hearts.
Step5- Cover a cookie sheet with foil and coat with cooking spray. Bake at 350 for 4 minutes.
Step6- Take out cookie sheet and carefully put candy pieces inside each heart cookie, filling the tips of the hearts. Put cookies back in the oven for 5-7 minutes, or until the candy is melted and the dough is golden.
Step7- Let sit for a few minutes before removing from foil, to allow the candy to harden.

I would love to here about what you have been up to this week please feel free to add your link.
Photobucket
Related Posts Plugin for WordPress, Blogger...