Thursday, 31 May 2012

My summer bucket list


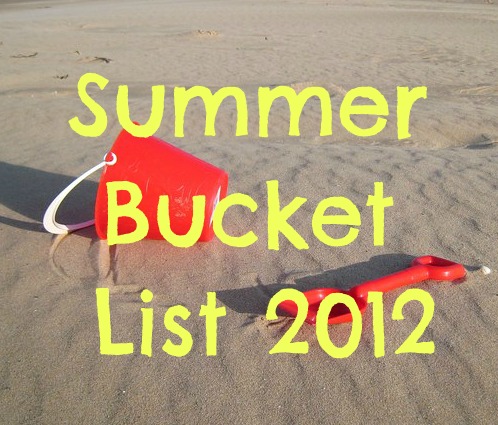
Inspired by the amazing Glittering Muffins I have decided to create a bucket list to ensure we do not waste the summer away. There are so many things which I would like to do with the children and never get round to them. So fingers crossed this bucket thing to stop that from happening this year.

  1. Blowing bubbles with home made bubble wands of all shapes and sizes.
  2. Take the children to the local water park.
  3. Camp in the garden.
  4. Visit Jimmys farm again.
  5. Go strawberry picking.
  6. Teach G to ride her bike.
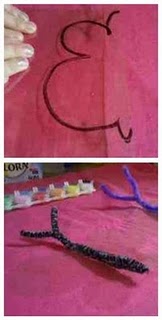
  7. Make tin can windchimes.
  8. Decorate large pebbles for the herb garden.
  9. Make a raised bed from pallets.
  10. Take the children to the beach.
  11. Have a water fight.
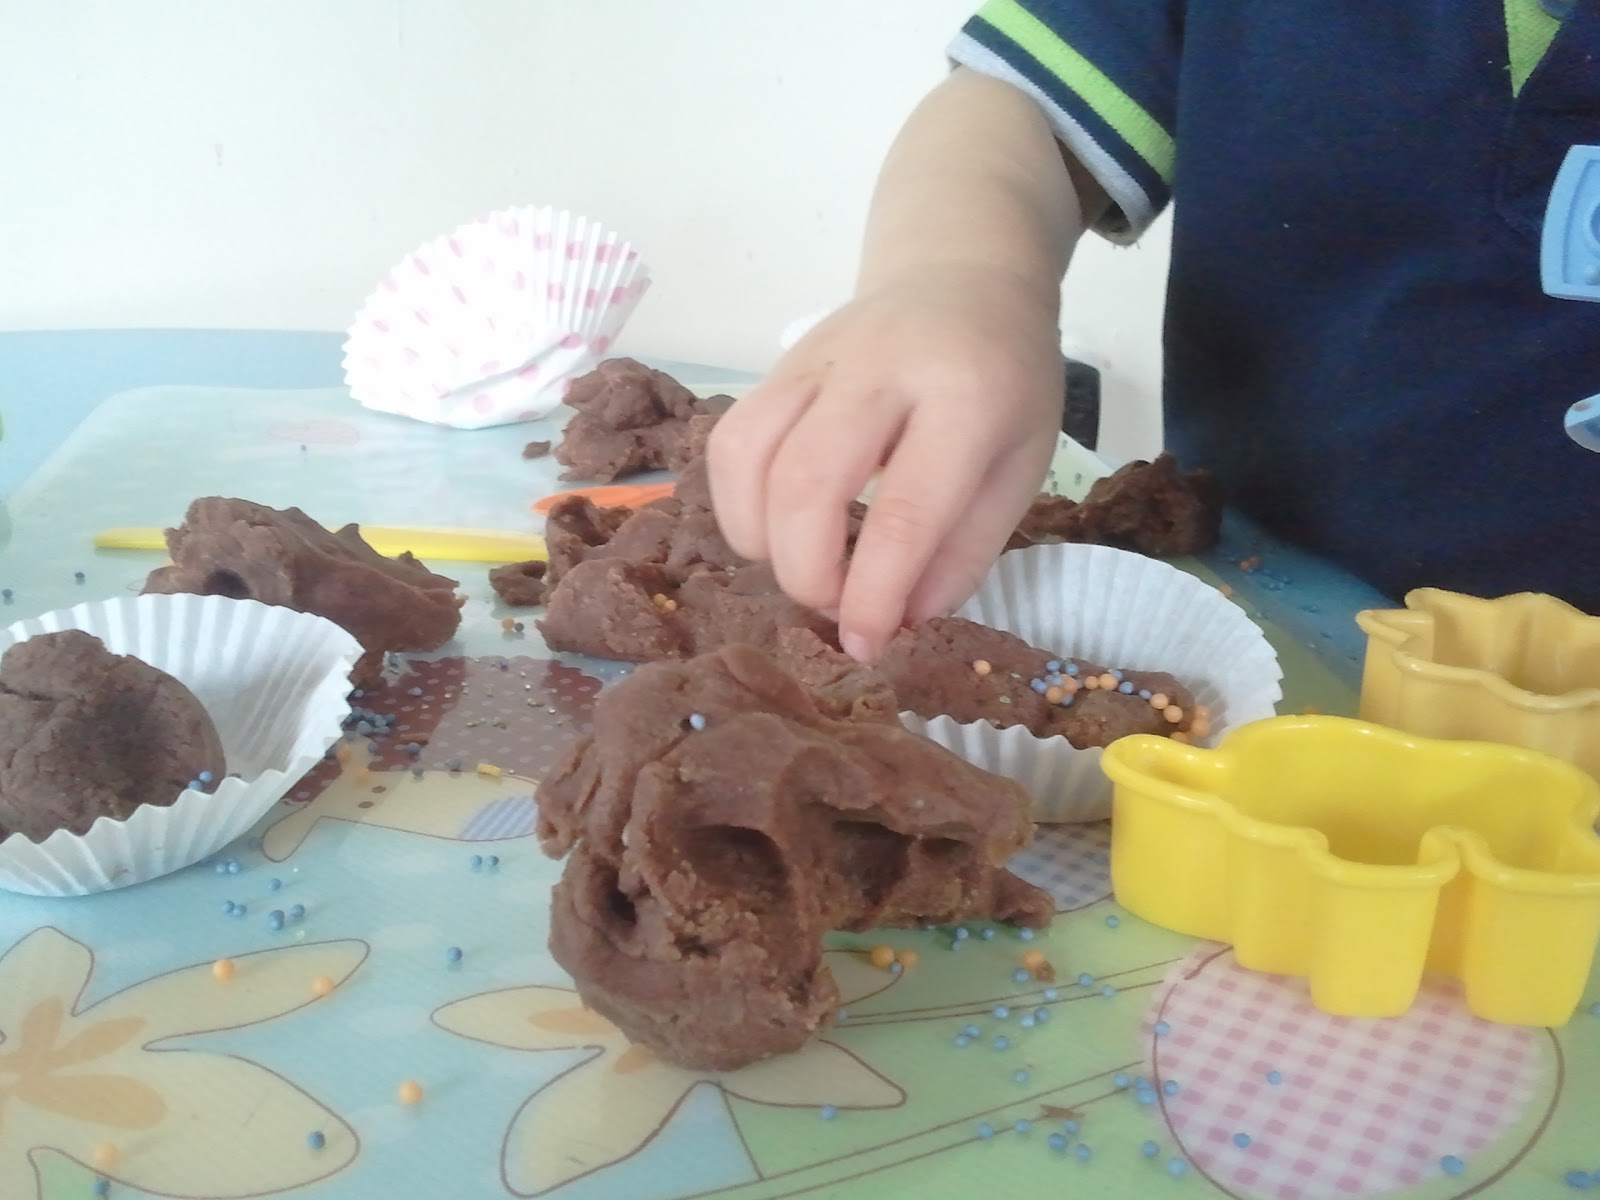
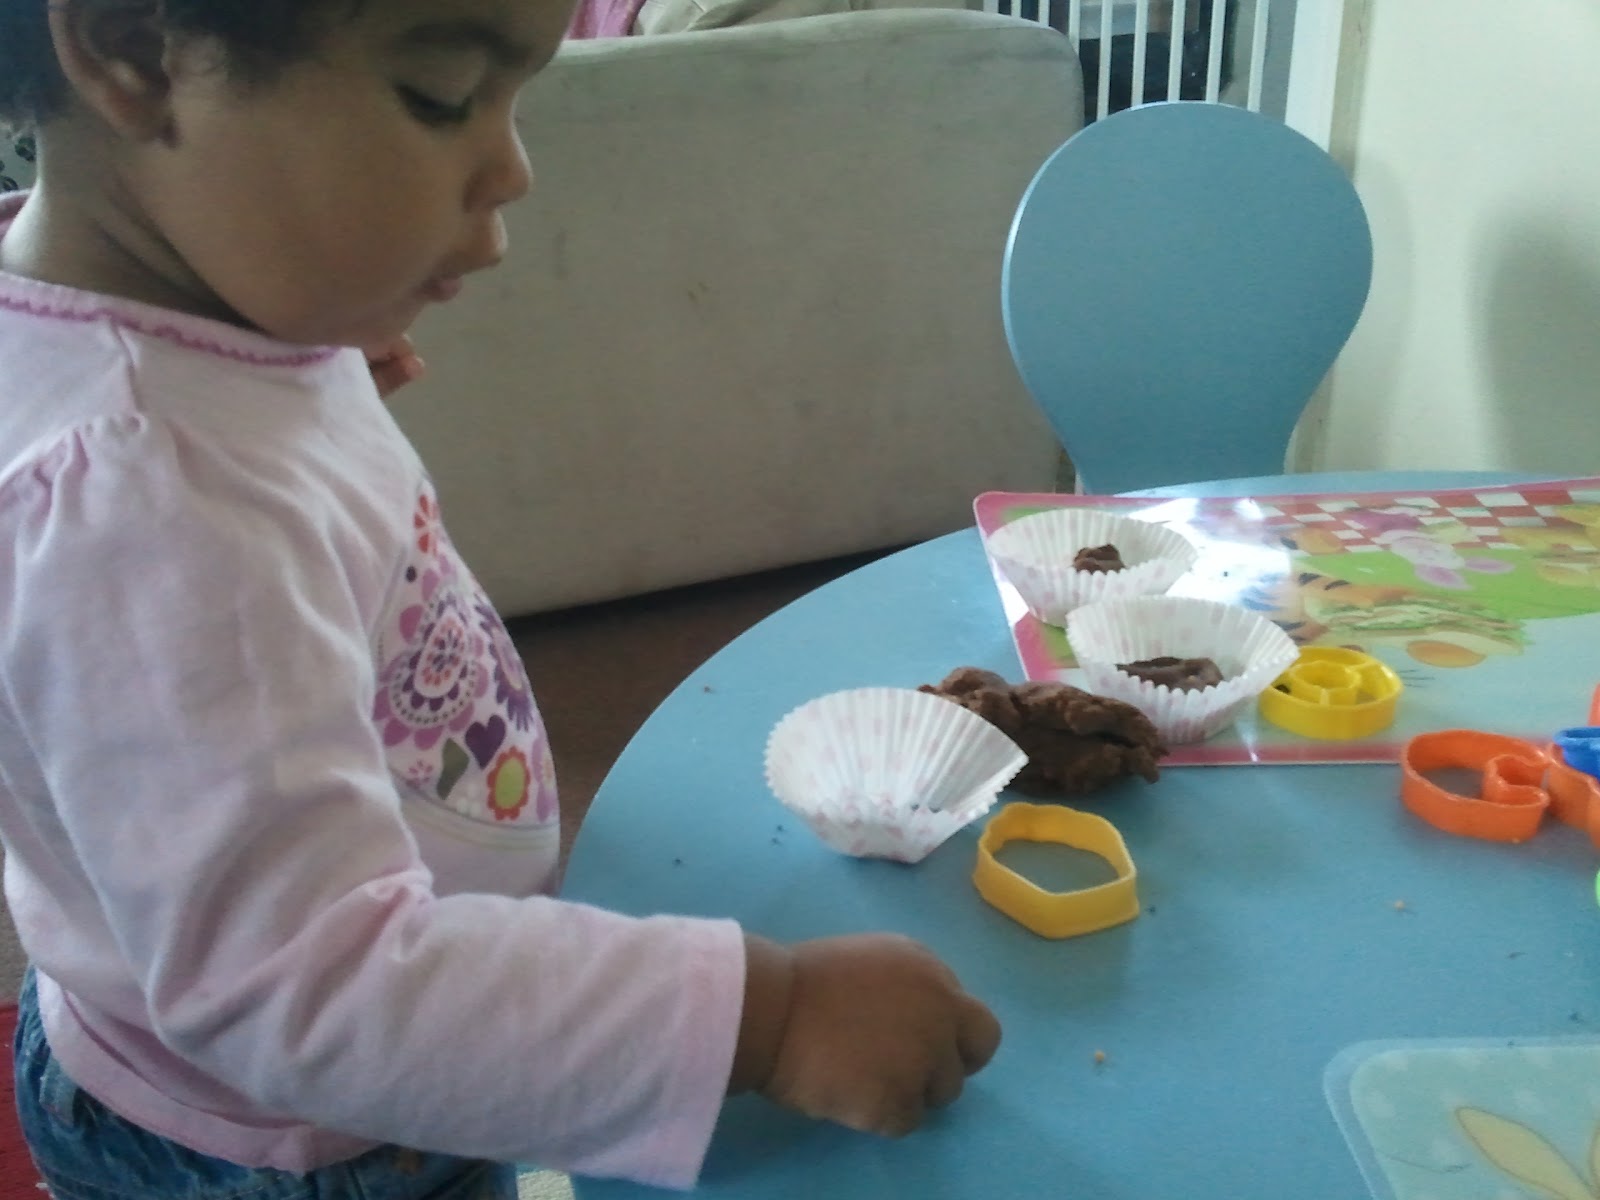
  12. Try out new baking recipes with G.
  13. Organise storage in the childrens rooms.
  14. Sort out a single bed for little man.
  15. Let G have a sleep over with a friend.
  16. Make a bubble bath in the paddling pool.
  17. Make smoothies with the children.
  18. Build an outdoor den.
  19. Make kites.
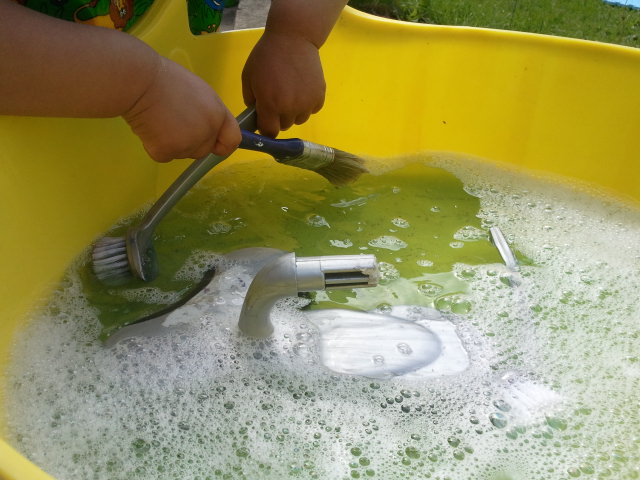
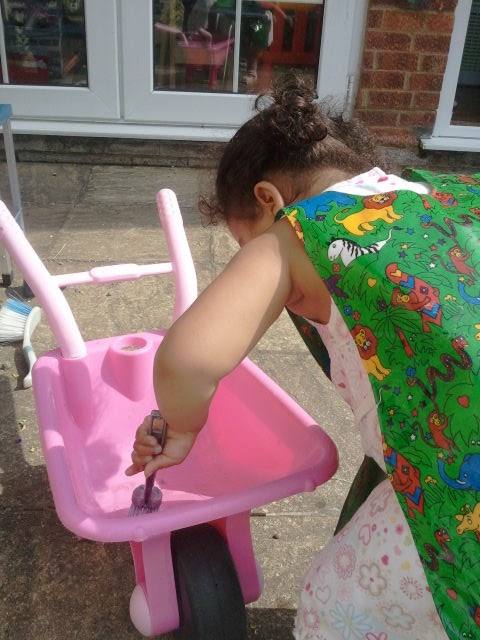
  20. Make a children outdoor car wash.
I'm sure there will be many more to add to this list as we go through the summer. Cant wait to get started!!!

Wednesday, 30 May 2012

Tuff Spot: Ice play


With the weather being so great at the moment its no wonder the children want to be outside all the time. As a parent and childminder of course the nice weather means bringing prepared so that the children do not over heat or get burnt. We tend to avoid the garden during to hottest part of the day and have activities which can help the children to cool down.

Ice play is an activity which we used a lot last year and with a little bit of prep its easy to put together.  
Step 1: Stick some plastic toy animals, flowers or cars into a couple of tubs and fill with water.
Step 2: Add food colouring and/or flavourings to the water and place them in the freezer.
Step 3: The following day take them out of the freezer and pop them out of their tubs into your tray.
Step 4: Add a little warm water to get the ice cubes started on melting
Step 5: Add cups and spoons to encourage pouring and your ready for some cool fun.

This week we froze some flowers and coloured water. The children were excited to see what had happened to them the following day after they had been in the freezer.


The children had great fun trying to get the flower out of the ice using the spoons and garden equipment.


Little man then moved on to trying to transport the ice using sieves and cups.


A on the other hand tried to pick up the ice with her hands and line it up on the garden wall.

If you would like more ideas on playing with ice this summer we have listed below some great ones from blogs we love to explore.

Tuesday, 29 May 2012

Childcare: which option do you pick?

Going back to work or staying at home is huge decision to make and I think an even bigger one is what child care to choose.

Before I had my son I was a nursery manager and with a biased view but now that I have been at home with my children and work as a childminder myself and  feel my views have changed.

I feel each option has its pro's and con's and over the last ten or so years the job roles has changed and there is a lot more in place to ensure children are offered the same opportunities regardless of the type of childcare they are in. I do however still feel that not every type of childcare suits every one and it is always best to do your research and visit plenty of settings before making your choice.

So what should you think about the looking for childcare? Here are five important points.

  1. Do your research! Look at Ofsted reports, find out their reputation, look at their websites and get in contact with them to receive to ask for an information pack. Remember do take some of this information with a pinch of salt, every ones opinion and experience is different.
  2. Create a short list of settings which best suit you and your child using the information above including cost and location.
  3. Visit your short list settings at a time of day when the children will be playing and go prepared with a list of questions you would like to ask. Look out for what is important to you as you walk around. For example is the environment clean? are the children occupied? and do the staff interact with the children?
  4. Try to speak to the staff after all they will be looking after your child and it is important that their personality and temperament will work well with your child’s to help them build a bond.
  5. compare each setting you have visited and look at the pro’s and con’s to each I would say that the most important thing to consider is where did your child relax the most.

Sunday, 27 May 2012

Stain glass butterfly

A big interest of ours at the moment is all the nature which coming into the garden. Now that all the insects, bees and butterflies are starting to appear again we have started to dig out all the books and toys to help feed the children’s interest.

I have had a piece of acetate which I have been bursting to use on an activity and this seemed like a good opportunity as any, you could alternatively use a laminated sheet.

Resources:
Acetate or a laminated sheet
pipe cleaners
poster or glass paint
pen
glitter

Step 1- We cut the A4 sheet in half and then folded it in again, we then drew a silhouette for half a butterfly’s body using a board marker and cut them out.


Step 2- Once they are cut out we folded a pipe cleaner in half and wrapped it over the centre of the butterfly. The pipe cleaner was then twisted at the top to secure it and bent out for the butterfly’s antennas.


Step 3- We then drew on the shapes my daughter wanted, we discussed how the butterflies wing are symmetrical and would be the same on each side. My daughter is 6 so she understands the meaning of symmetry however if you are going to be trying the activity your self this it is a good and simple way to explain it to little ones.


Step 4- Once the shapes were drawn we painted them, this is great for hand eye coordination as you can encourage little ones to try and stay in between the lines.


Step 5- Once these were all filled in we sprinkled on the glitter and filled in the out side with her choice of colour.

Once finished these butterflies would look great decorating a child’s bed room window, hanging from the ceiling or tucked in indoor plant pots.

Thursday, 24 May 2012

The childrens garden

In February we moved into a new home and I posted about the excitement we all felt with this new adventure. The changes have been quite slow what with the weather and money restraints but I'm still convinced that we can make some good improvements to the garden in that time.


My plans for this year are:
  • Purchase some children's outdoor toys,
  • Take out the rose bushes,
  • Plant new shrubs in the beds,
  • Plant some fruit and veg,
  • Redo the borders walls.
We have already faced some problems in the garden this year and I guess that is to be expected. The snails and slugs have easily found their way into the green house and eaten most of my herb and veg. The remaining plants were then pushed off the ledges in the green house by the wind. This meant that after two months of growing we were having to start again.
The children have loved to explore the garden, digging for bugs, playing in the sand and having water fights. I would love for our garden to be more child focused and think its a long way off yet but my first Aim is the build or buy ;0) a play house!!

Wednesday, 23 May 2012

Water play with brushes

The weather has now started to brighten up in sunny England and the children in our house have been taking full advantage of the weather. Yesterday I started to introduce the children to water play out in the garden, this is something I hope to have out for them every day.


Today the children were given the water in a large bucket and I teamed it up with a variety of different size brushes.


The children started off using the brushes to move the water around the bucket. They enjoyed watching the bubbles grow and fill the bucket.


The children soon moved on to use the brushes to wash and clean the outdoor toys. This is some thing they often enjoy doing when playing the toy kitchen without water.


Next up was the walls and windows!! The children had great fun and the activity kept them busy all morning. Lets hope the nice weather is here to stay.

Tuesday, 22 May 2012

5 Signs your child is ready for potty training


Normally the mile stone most parents dread, timing potty training correctly can help lift the stress of this important stage in every child’s life. Time and time again I have seen children being pushed into potty training by their parent before they are ready. There are of course instances where children may be ready to potty train even before they are too and these children may get through the process with ease however most children will start around two and a half.

It is important to note that starting a child too early may result in them getting distressed at entering the bathroom or being sat on the potty. Some children have even been known to hold it in which of course can lead to constipation and fevers. If you are unsure whether your child is ready for potty training speak to your health visitor. Here are 5 simple signs that your child may be ready.
  1. Your child tells you when their nappy is wet and wants it to be taken off.
  2. Your child wants to sit and try using the potty.
  3. They are able to follow instructions such as, ‘do you need the potty?’
  4. Your child is able to stay dry for two hours or more.
  5. Your child is aware when they are doing something or about to do some thing.
Another point which I would put to parents before they try their little ones on potty training is to avoid pull ups. These feel to children exactly the same as a nappy and therefore most children will use them in this way. The best way I have found to manage this is to put them in to knickers or pants and don’t turn back, using nappies or pull up can just cause more confusion.

Monday, 21 May 2012

Chocolate Playdough Recipe

I thought it was about time a shared one of our favourite playdough recipes. I used this recipe the first time my youngest played with playdough and it might not have been the best idea because it really does smell delicious.  


I did however find that the smell intisced them in and stopped him for being nervous about the strange thing I had put in front of him.


The children had fantastic fun rolling the playdough and making cakes using cutters, sprinkles and cupcake cases.


Here is the recipe we usually use which I found in one of my resource books

  • 2 cups all-purpose flour
  • 1 cup salt
  • 1/2 cup cocoa powder
  • 2 tbsps vegetable oil
  • 2 tbsps cream of tartar
  • 2 cups of boiling water

  • Combine all of the dry ingredients. Add in the oil and mix well. Then stir in the boiling water until fully combined.  flip it out the bowl onto a clean surface and knead it.

    Saturday, 19 May 2012

    Exploring Treasure Baskets

    You will hear many parents comment that their child prefers the cardboard box a present is stored in rather than the gift its self, this is because it feels better to touch, looks more interesting and makes a more exciting sound when they move it. Babies love things that appeal to their senses which is why treasure baskets of interesting objects provide ways for them to explore different sights, textures, sounds and tastes.


    There are many different types of treasure baskets however a great one to start off with is a natural materials basket. Some of these items you may be able to find at home however many can be purchased cheaply too.


    All the items can then be kept together in a basket or box, before adding any items to your collection it is important to ensure they are a safe size for your child.

    Example Materials Dolly pegs, egg cups, curtain rings, coasters, piece of flannel, pine cone, wooden spoon, shaving foam brush, loofah, ribbon,  pebbles, drift wood, coconut shell, pumice stone, avocado stone and shells.

    Friday, 18 May 2012

    Playdough Mats


    This activity is an old but favourite of mine. I think play dough can be great for relieving frustration for children and adults. It can instantly calm a hyperactive child and helps children to express themselves. I used to have great fun making these mats to help support children's learning.


    Here are some examples how:

    ·        A mat of a crocodile with no teeth will allow opportunities for counting and discussions on dental health.

    ·        Mats of scenes can help develop a child’s imagination.

    ·        Alphabet mats can help children to recognise letters they might usually struggle and they could also make thing which begin with this letter.

    ·        working with texture, shape and form in two and three dimensions.


    To make your own play dough mats simply use coloured paper to decorate a back ground and then laminate it. This will make it easy to wipe down and reuse the mat. We also made simple letter mat to aid my daughter to stop mixing up the letters d and b.

    Wednesday, 16 May 2012

    Play Dough Creatures

    A little while ago my mum found an old toy in the loft which belonged to my sister. A box of creature parts to use in play dough. Today we had great fun with these and the children made some great animals/ creatures.


     Little man has formed a great love for playdough and this is some thing which I hope to be exploring with him more often now. Little mans pictures are the ones below.


    I have also found that it encourages A to try and use her hands more as she struggles with coordination and manipulative skills.

    I love discovering old toys like these and I'm sure they will get a lot of use now :0)

    Tuesday, 15 May 2012

    Potty Training Tips


    Potty training is a huge milestone in every child’s life. After spending the first two years of their life in nappies we are asking them to take their nappy off, pay attention to what goes on down there and get it in the potty/ toilet before it comes out. So why as parents do we expect this to be such an easy transition? It is very unlikely and the more prepared we are for this change the easier it will be.

    Here are a few tips to try and make it all go smoother.

    • Place a disposable bed sheet on their stroller before they sit down. You may still have to change their clothes if they have an accident but at least you won’t have a wet stroller.
    • Give them lots of praise for their achievements such as using a reward chart.
    • Try to start potty training at a time when you don’t need to leave the house for school runs or nursery trips.
    • Buy lots of cheap knickers or pants that way it doesn’t matter if they are soiled they can just be thrown away.
    • Potty training in the summer means they can around the house with little on making it easier to get on the potty in time.
    • Children are likely to need the toilet after eating so try to get them to sit down at this point.
    • Expect lots of accidents in their first couple of weeks and don’t give up going back into nappies can just confuse

    Thursday, 10 May 2012

    Down at the farm

    Its not very often that Childminders receive funding. All the equipment I have has been purchased from my own pocket and I still feel like there is so much I am missing. So when my local council gave out some new WOODEN equipment at a training course I recently attended I was over the moon to say the least!!

    I look after a little girl who has developed a fear of plastic toy animals which progressed into a fear of real farm animals. These wooden toys have helped to her gain more confidence around animals which I think is amazing.

    I have fallen in love with wooden toys lately and feel so lucky to have been given this farm. Here are some pictures of the children enjoying the farm.
    They loved making new homes for the animals. We discussed what food
     they might eat and where they would sleep 

    The pigs had their very own sty.

    The children made a garden using flowers and coloured bricks.

    Friday, 4 May 2012

    The best kids’ Jubilie activities

    G is very excited about the queens 60th Jubilie. The school have planned a street party and we have been thinking at home of ideas that we can put together of the celebrations.
    The first thing to spring to mind was to make a decorate a crown. G loved this idea and we decided to use a variety of painting and sticking to create our designs.
    I had left it that G could do what ever she wanted and simply just laid out the boxes of art materials for her to pick from. With no plan or template to follow G still decided to create a pattern of colours using the paints, she repeated this pattern again below using a potato stamp.

    Once G had finished painting her crown she added her choice of glitter and decorated it using pretty collage pieces. When she made little mans it was very similar but with circles on each of the points.

    In celebration of the Queens Jubilie I have put together this Blog Hop along with some great blogging friends to help share all the great activities ideas. If you have been busy preparing or celebrating the Jubilie please feel free to link up your activities.  
    Photobucket

    Thursday, 3 May 2012

    Tuff Spot: Water Bead Mini Beast Play

    This is the first time we have explored using water beads in play and until they hit the blogging world I had never heard of them before. Water beads are normally used by florists to decorate vases and keep flowers in place. Now creative parents and practitioners have discovered them water beads have been given a wide range purpose.

    Even though the rain has continued to come down out side we have continued to explore our current topic of 'The garden' any way we can. In the morning we filled our Tuff Spot with 20g of green and black water beads. Then we poured 2 litres of water on top and left it for 6 hours. Every so often we would pop back and see how they were doing, the children were amazed at them changing size.


    By the time the school run had be conquered we had a Tuff Spot filled with lovely blump water beads. We added some mini beasts to the tray and the children dived in to explore their new activity.


    The children started off having fun rubbing their hands through the bottom of the tray and watching the beads fly all over the place. The children were then curious to see what was in the beads and squeezed them making them brake in half.


    G loved watching the sun shine through the beads, she noticed how some beads were also darker than others.

    The children had great fun and I'm already thinking of new ideas for our water beads.

    Related Posts Plugin for WordPress, Blogger...